
How to Use a Woodworking Planer Like a Professional – 8 Tips and Tricks
Whether you’re a beginner to woodworking or have done a few DIY projects in the past, it can be a great hobby and extremely useful skill to learn when crafting wood projects at home. One of the essential tools you’ll come across, and you might already own, is a planer.
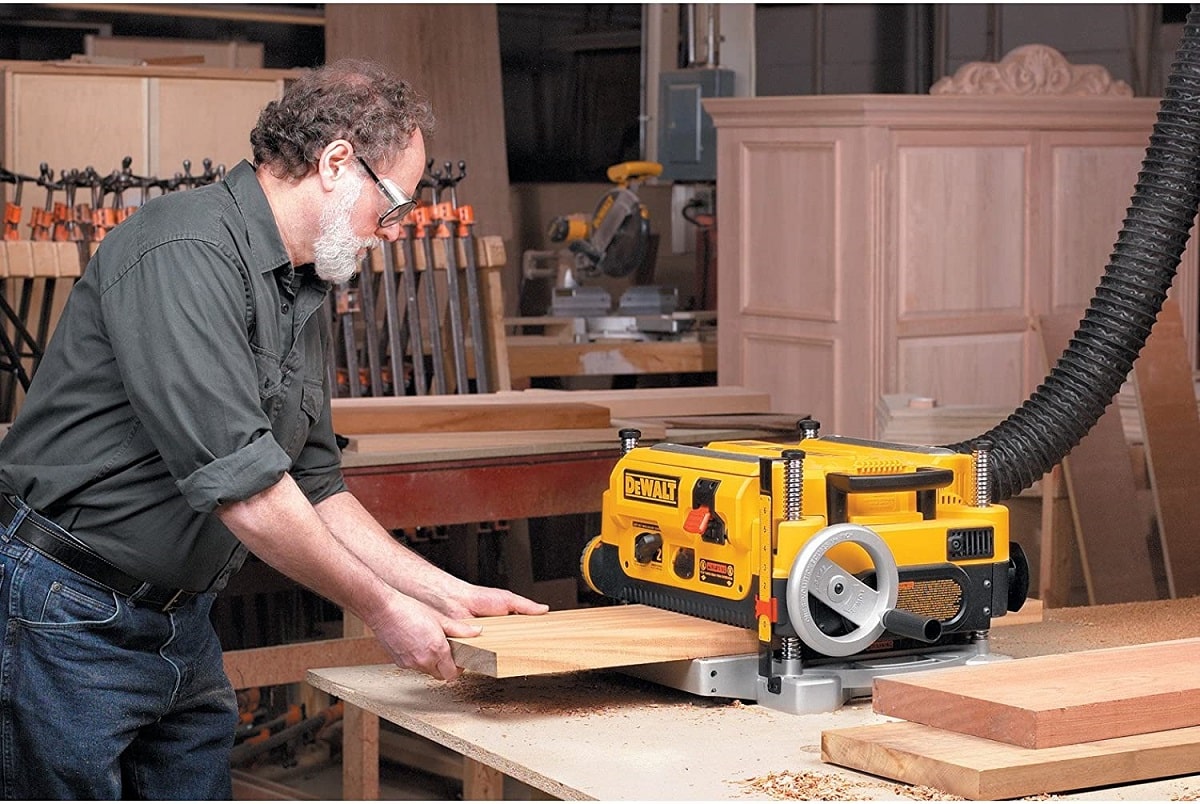
A planer can come as a benchtop planer or a handheld planer. There are several different types of planers, the most common one being a thickness planer. This woodworking machine will help you flatten warped, uneven boards and achieve a parallel surface on both sides.
If you’re working on any DIY project, like furniture or décor pieces, having a straight and even wood piece is necessary for the measuring and making of your final project. Planing is a great way to prep your wood pieces before you start putting everything together. Here are some simple tips and tips for using your woodworking planer like a professional.
Fix Cupped Boards
Not all boards are perfect, and some boards are cupped. This means that the board is not entirely flat and dips or curves in across its width. Even if you run the board through the planer, it’ll still come out cupped and will physically curve and not lie flat.
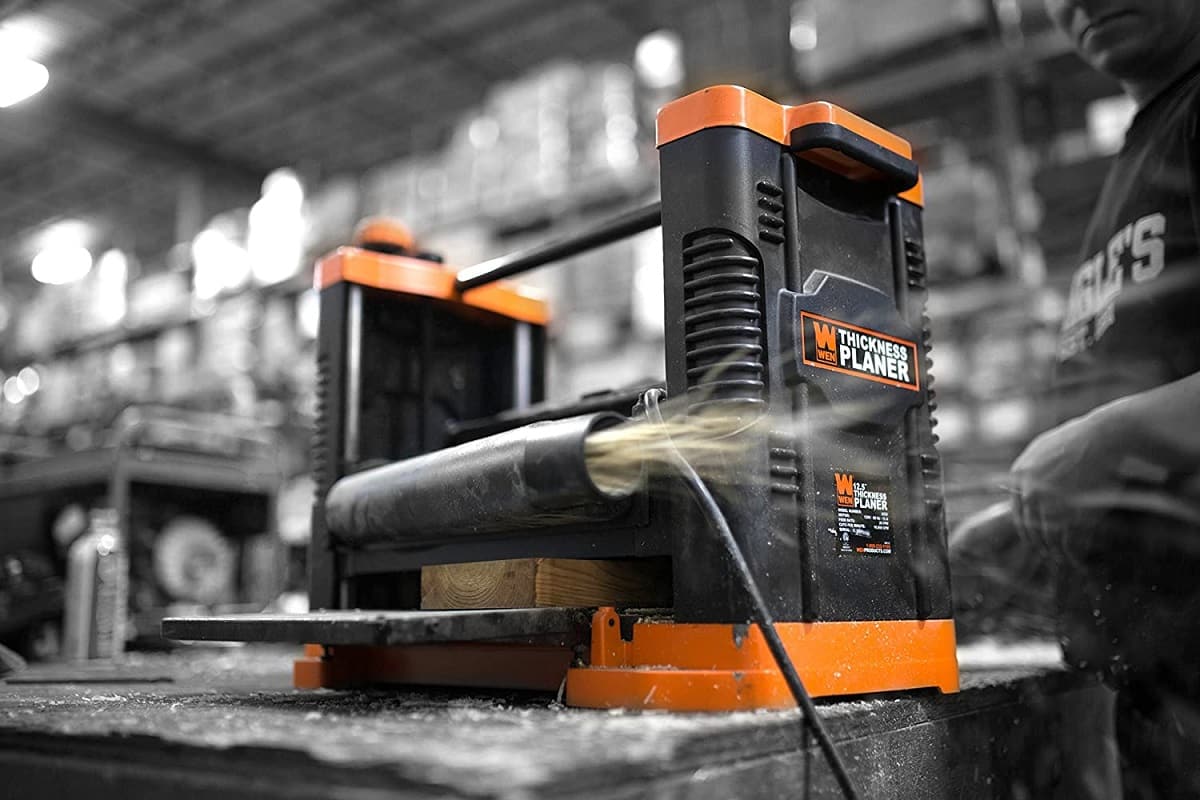
To fix cupped boards, identify the board’s cupped side, and mark the grain direction. Set the planer blade to remove the cup and run it through the feeder.
Avoid Sniped Edges
If you’re using a benchtop planer to smooth wood pieces, you may notice that edges get cut off and aren’t parallel to the rest of the piece’s surface. This can happen a lot to longer pieces that are being fed through. To avoid the edges being cut off and uneven on your board, but the next board right to the back of the board that’s being fed. This will create an even cut throughout.
Go with the Grain
While you’re planing, it’s important to go with the grain of the wood. This will help completely smooth out the wood and fix any bumps or valleys. Follow the direction of the grain with your benchtop planer or your handheld planer throughout each pass to avoid any cuts to the wood.
You may encounter figured grain, which is grain that’s running in a few different directions. If that’s the case, run the wood through diagonally at a different angle to prevent tear-out and any cutting.
Run Multiple Pieces at Once
If you want to run a few pieces of wood at once, tape them vertically together and feed it through the planer. They’ll stick together with the tape and be cut through evenly. This can be a good trick if you want to achieve uniformity throughout your wood pieces.
Regularly Sharpen the Planer Blade
If you’re wondering why the planer hasn’t been getting an even result, or it’s taking you too many passes to achieve a smooth result, it could be because your planer blade needs to be sharpened.
If you’re using your planer frequently, keep an eye on the blade. To check the sharpness of your handheld planer, lightly touch the blade with your finger and see if you can feel it. If you can barely feel it, it’s time to sharpen your blade.
To sharpen the planer blade, take out the blade, wet your sharpening stone, and rub your blade in circles in one direction. Work it around on both sides of the blade gently and evenly for a sharper blade.
Adjust Planer Length Depending On Wood Size
For boards that need a lot of work and are uneven, adjust your tools accordingly. Generally, the longer the plane, the more control you have over each cut pass.
If you’re working with a long board, using a longer plane will make sure the mounds and valleys of the wood will be smooth from edge to edge. Just like moving your hand evenly across the wood board, a long plane works the same way. It’ll stay steady and even as you move it and can be controlled much more easily when you’re doing long motions.
Know the Different Plane Tools & Their Uses
There’s more than just one plane out there. You’ll often see professional woodworkers change from a benchtop plane to an electric handheld plane, to a smaller plane that can fit in an apron pocket. Learn what each type of wood plane can do for you, and if you have access to any, practice with them.

For instance, a handheld bench plane can cut deeper and chew off the bumps in the wood. A bench plane can take out a lot of material off the wood. The blade is fixed at a 45-degree angle that can be increased for a rougher wood timber.
Take Off a Bit at a Time
When you’re using a planer, it’s important to take off a bit at a time. This will progressively take off a bit of wood at a time and achieve a much finer and flatter surface. You can adjust this on a benchtop planer by just taking off a tiny amount at a time.
Run it through a couple of times until you’re satisfied with the texture. Make sure each wood piece is being run through the benchtop planer the same amount and achieving the same thickness.
When using a handheld planer, electric or manual, position your body properly to get steady and even strokes, and don’t apply too much pressure to the planer. The more pressure, the more that’ll be taken off.
Keep a steady stroke, and follow the planer with your body, not just your arms. Push gently, since it shouldn’t be too hard to scrape a bit off the surface, and follow through to the end. Do a few passes, steady and without too much force, to get that smooth, even surface.
Using a planer, whether benchtop or handheld, can be a challenge. With a few techniques to keep in mind, you can use a woodworking planer like a professional. If you’re looking to purchase and use a professional woodworking planer, check out more info on our website for recommendations and other tips in finding the right machine for your planing needs.