
How to Use an Electric Hand Planer – My Top Tips

Power tools are designed to make your work easier and improve your experience of woodworking. While they do pose an inherent danger if not used properly, learning how to use them is actually much easier and simpler than most people would assume. Here are some highly effective tips on how to use an electric hand planer around your woodwork shop, yard and home in general.
What Is an Electric Hand Planer?
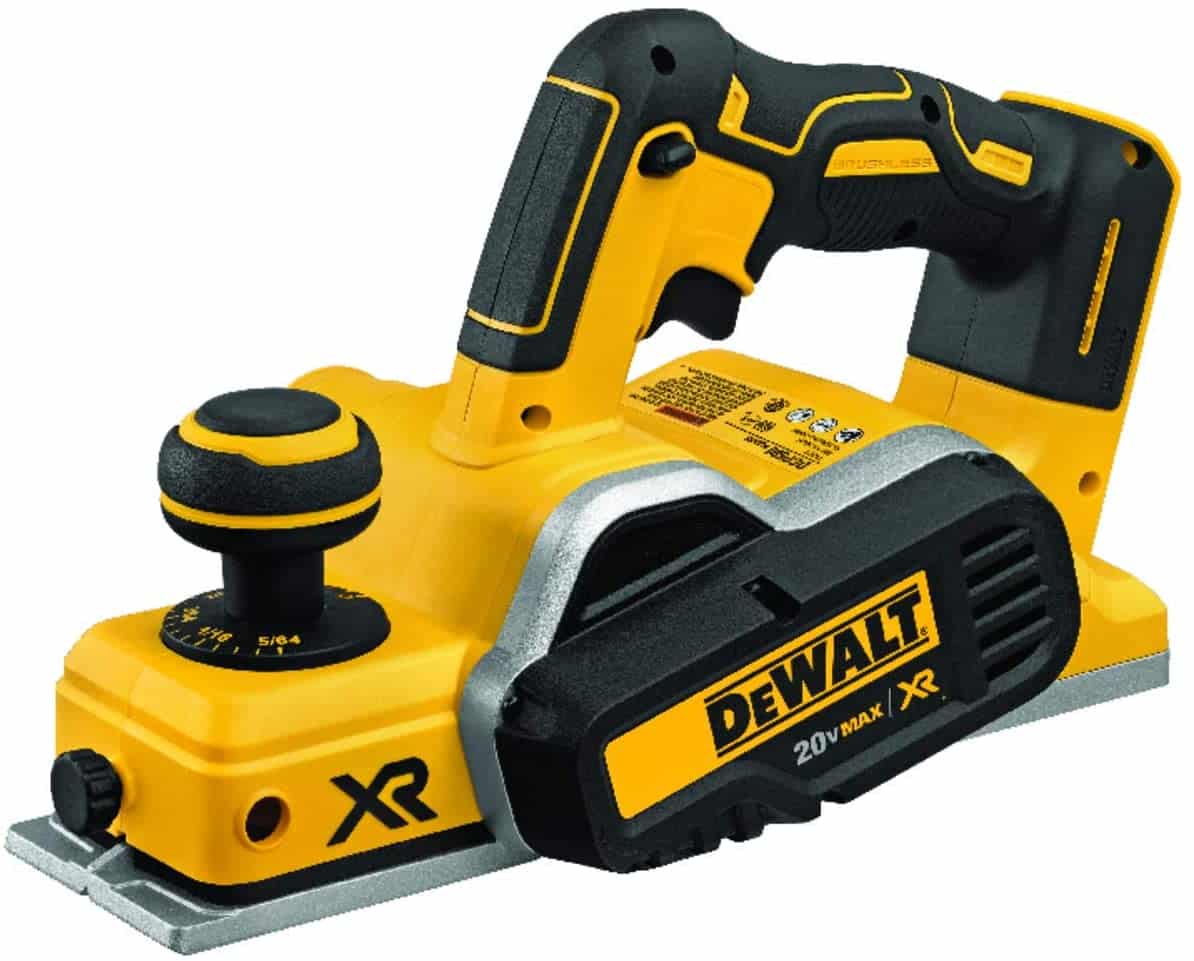
An electric hand planer is a tool that woodwork experts use to take off small amounts of wood and smooth a surface by shaving it off in little increments. The best electric planers have two or even three blades that help you achieve this end.
More often than not, the amount of wood material that can be shaved off any surface is very small (about 1/8″ but typically, it’s 3/32″). This gives you more control over how much of the surface you can affect with every pass.
The biggest difference between an electric hand planer and the usual nonelectric option is that an electric planer doesn’t have a static blade. Instead, it has a rotating one. This makes an electric planer more effective and more efficient to use.
How to Use an Electric Hand Planer?
Using one of the electric planers is a rather simple process. However, there are a few tips and tricks that the professionals use to ensure that they get smoother cuts and avoid the little common mishaps such as snipes when using these planers. Here are some of my best tips and tricks to help you use your electric planer more effectively and efficiently:
Tip 1: Checking Your Tool
If you are new to electric woodworking tool, this step should be at the top of your list whenever you use any of those tools. Checking your tool before putting it to work is not only a safety issue; it’s a good wood workmanship issue. Having the right tools for the job is only half the process. You have to make sure that the tools work properly and that you actually know how to use them.
Here is what you need to do to check your electric hand planer before using it:
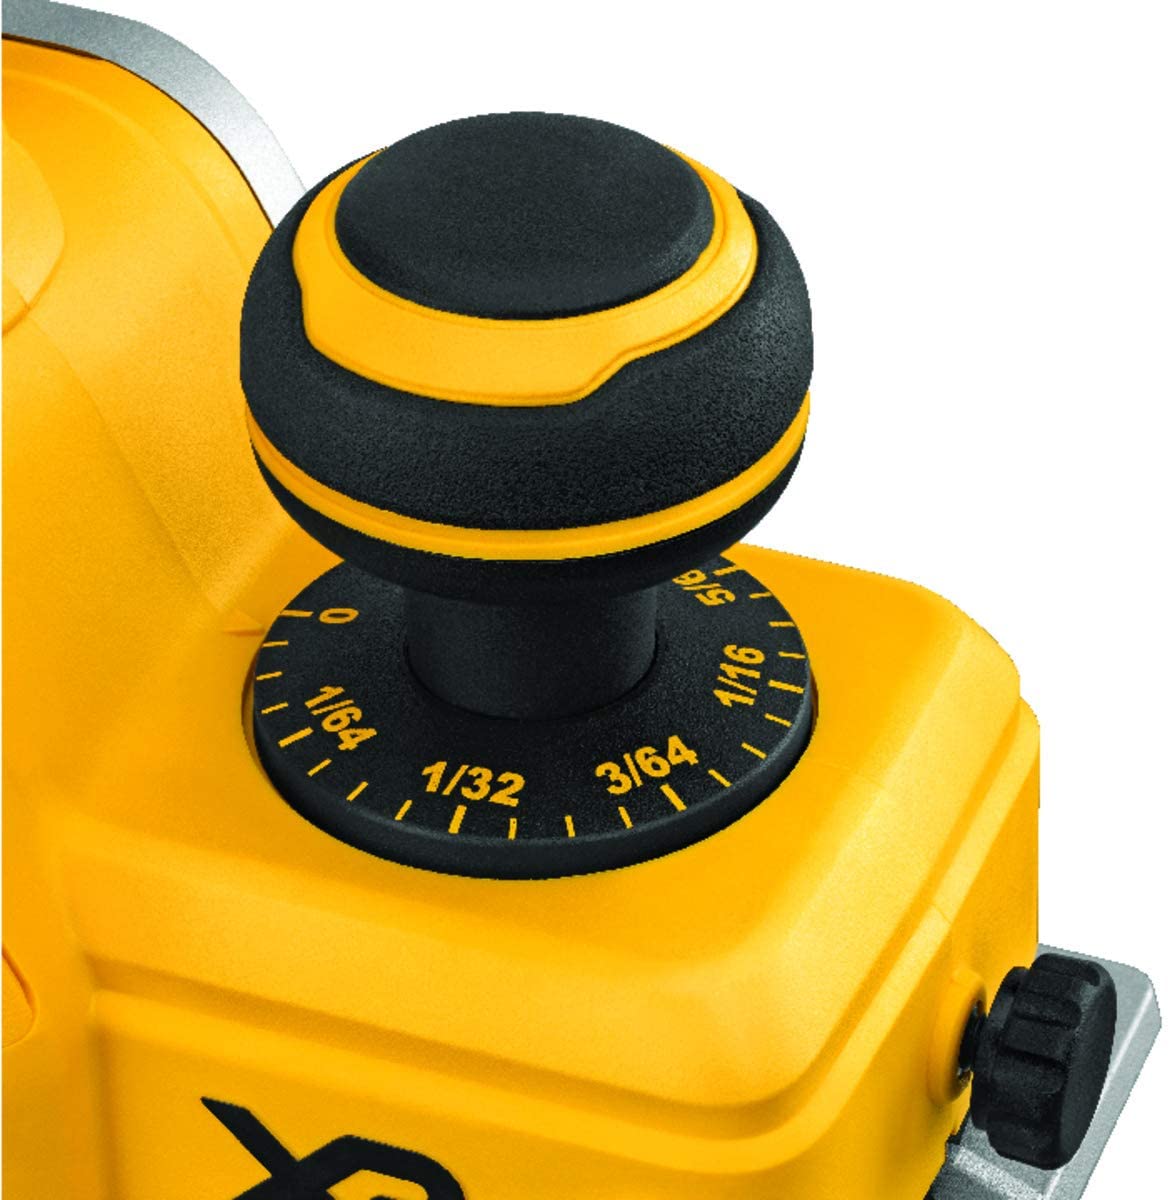
Make the necessary adjustments: This will depend on your project goals. For example, if you want to hog off dimensional lumber, you want to adjust your tool to cut to a depth of about 1/8 of an inch. However, if you want a smooth finish, then you want to adjust it to about 1/32 or 1/64 inches.
While there are several excellent options in the market today, the Wen 6550 Planer is a wonderful option for people who value tool adjustability. However, the Dewalt DCP5808 Brushless Planer is by far the best in its range as far as adjustability is concerned. It actually allows the depth adjustment of its cutting depth to an impressive 1/256th of an inch.
Blades sharpness: You aren’t going to get much done with a dull tool. While most top tier models are equipped with self-sharpening blades nowadays, it’s still good practice to check whether or not the blade is sharp enough before actually putting it to the project at hand. If the cutting blade isn’t up to par, you can simply use a whetstone to sharpen it.
Once everything is checked, and you have given the tool the green light, check and adjust the planer’s kickstand which should be down to protect the blades. Be sure to lift it before you start working on your project.
Tip 2: Proper Body Positioning
Proper body positioning is crucial for any work, not only woodworking, but that also calls for the use of electric tools (or really tools of any kind that could present a health and safety hazard). That is why you need to find the right balance before you start using this tool.
The thing about finding the right balance is that there isn’t a one-size-fits-all approach to it. We all have different centers of gravity. Do what you need to do to find yours.
I find that putting my feet slightly apart and trying to see if I can get enough push from my back, in my shoulders and through to my hands is the best approach. This way, you can simulate the full movement of the entire process and see whether or not your entire body is stable enough to handle the work as well as the tool.
Tip 3: Properly Making the Pass
To properly make the pass, you need to first understand how the electric planer works. The front part of the tool is called the shoe. It’s this part that is pressed to the wood while the tool is being pushed forward. This action drives the wood into the blade, which then chisels it according to your depth settings. Here are the simple steps you need to follow to properly make the pass/cut:
- Make sure the shoe is flat on the surface of the wood you intend to pass it over. Ensure that the blades don’t touch the wood. Otherwise, this will make some unnecessary cuts and unnecessarily complicate your entire process.
- Turn the machine on and let its motor reach the maximum speed.
- Slowly and smoothly start moving forward until the planer cutting blade comes into contact with the wood.
- While keeping steady pressure on the handgrip of the tool, smoothly push it forward.
- Go through the entire surface of the wood without changing the pressure you are applying too much; otherwise, you will get an uneven surface.
- As you get towards the end of your wood surface, steadily shift the pressure on the planer from the front towards the rear to prevent the front end from dipping and taking out more wood material than intended.
Here is a video showing you how to use an electric hand planer:
Remember to protect your hearing and eyes whenever you are using this tool or any other power tools in your woodwork shop. Also, whenever you are not using the planer, turn it off and place the front shoe up on a designated block until the blades stop spinning.
Follow these basic “how to use an electric hand planer” tips, and you will find this machine highly effective and efficient.