How to Use a Miter Saw – 15 Miter Saw Tips and Tricks Every Woodmaker Should Know
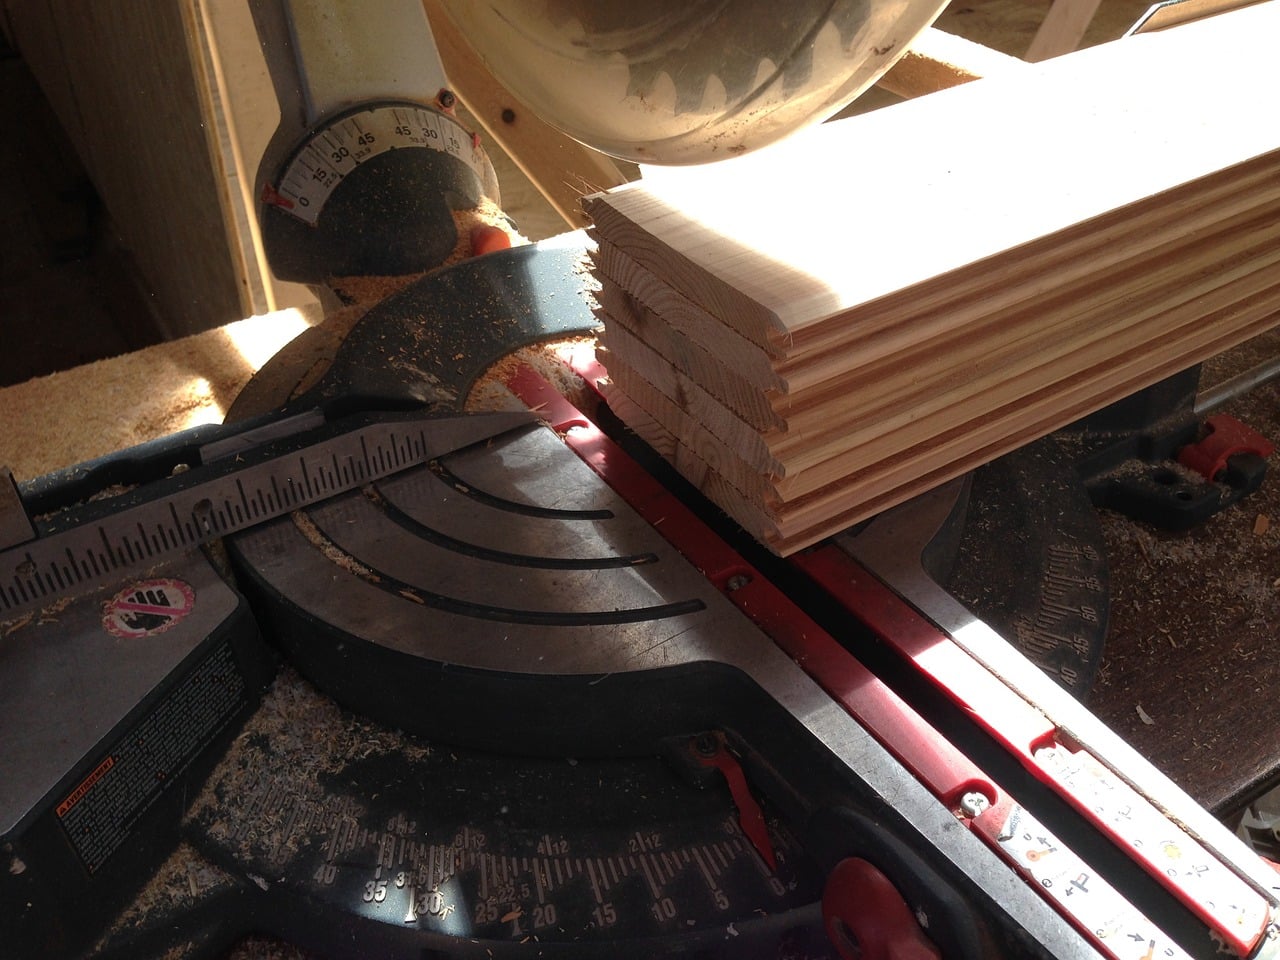
Skilled wood crafters know how to use a miter saw. It is a crucial tool that one should own, especially when they work with wood. It’s use allows proper and accurate cutting easily and proficiently.
However, did you know that there might still be some tricks you are not aware of?
This helpful guide will show you 15 tips and tricks you need to know when using a miter saw. After all, how to use a miter saw expertly requires not only knowledge and skills but also hidden secrets of the trade.
What is a Miter Saw?
A miter saw is a special tool that allows a woodmaker to cut wood from various angles. A blade is mounted on a swing arm and turns in a circular motion left or right to get the desired angle miter cut. A miter saw is often used to create crown moldings, door frames, picture frames, and even window casings faster. Aside from these things, a miter saw is helpful in many other wood-related projects.
There are three types of miter saws that you should learn about. Check them out here and how they are different from a table saw.
Tips and Tricks on How to Use a Miter Saw
1. Use Shims When Shaving Miters
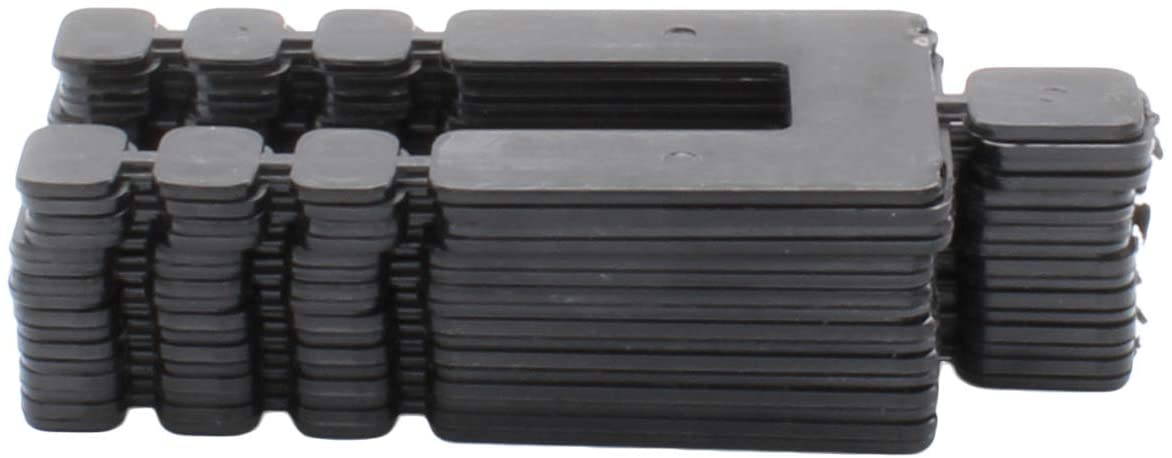
A shim is a thin tapered or wedged material that is used to support and provide a better fit and surface level to what you are doing. Place a skinny shim – about 1/16 inch or less such as this CRL Shimstack Shims – against the farthest portion of the fence from the blade to close the miter top’s gap. Then, glide the molding tightly to the shim and adjacent fence near the blade. Keep the position as you cut. You use the same shim and trim the other half of the miter using the same procedure.
2. A Miter Saw Stand Makes Great Company
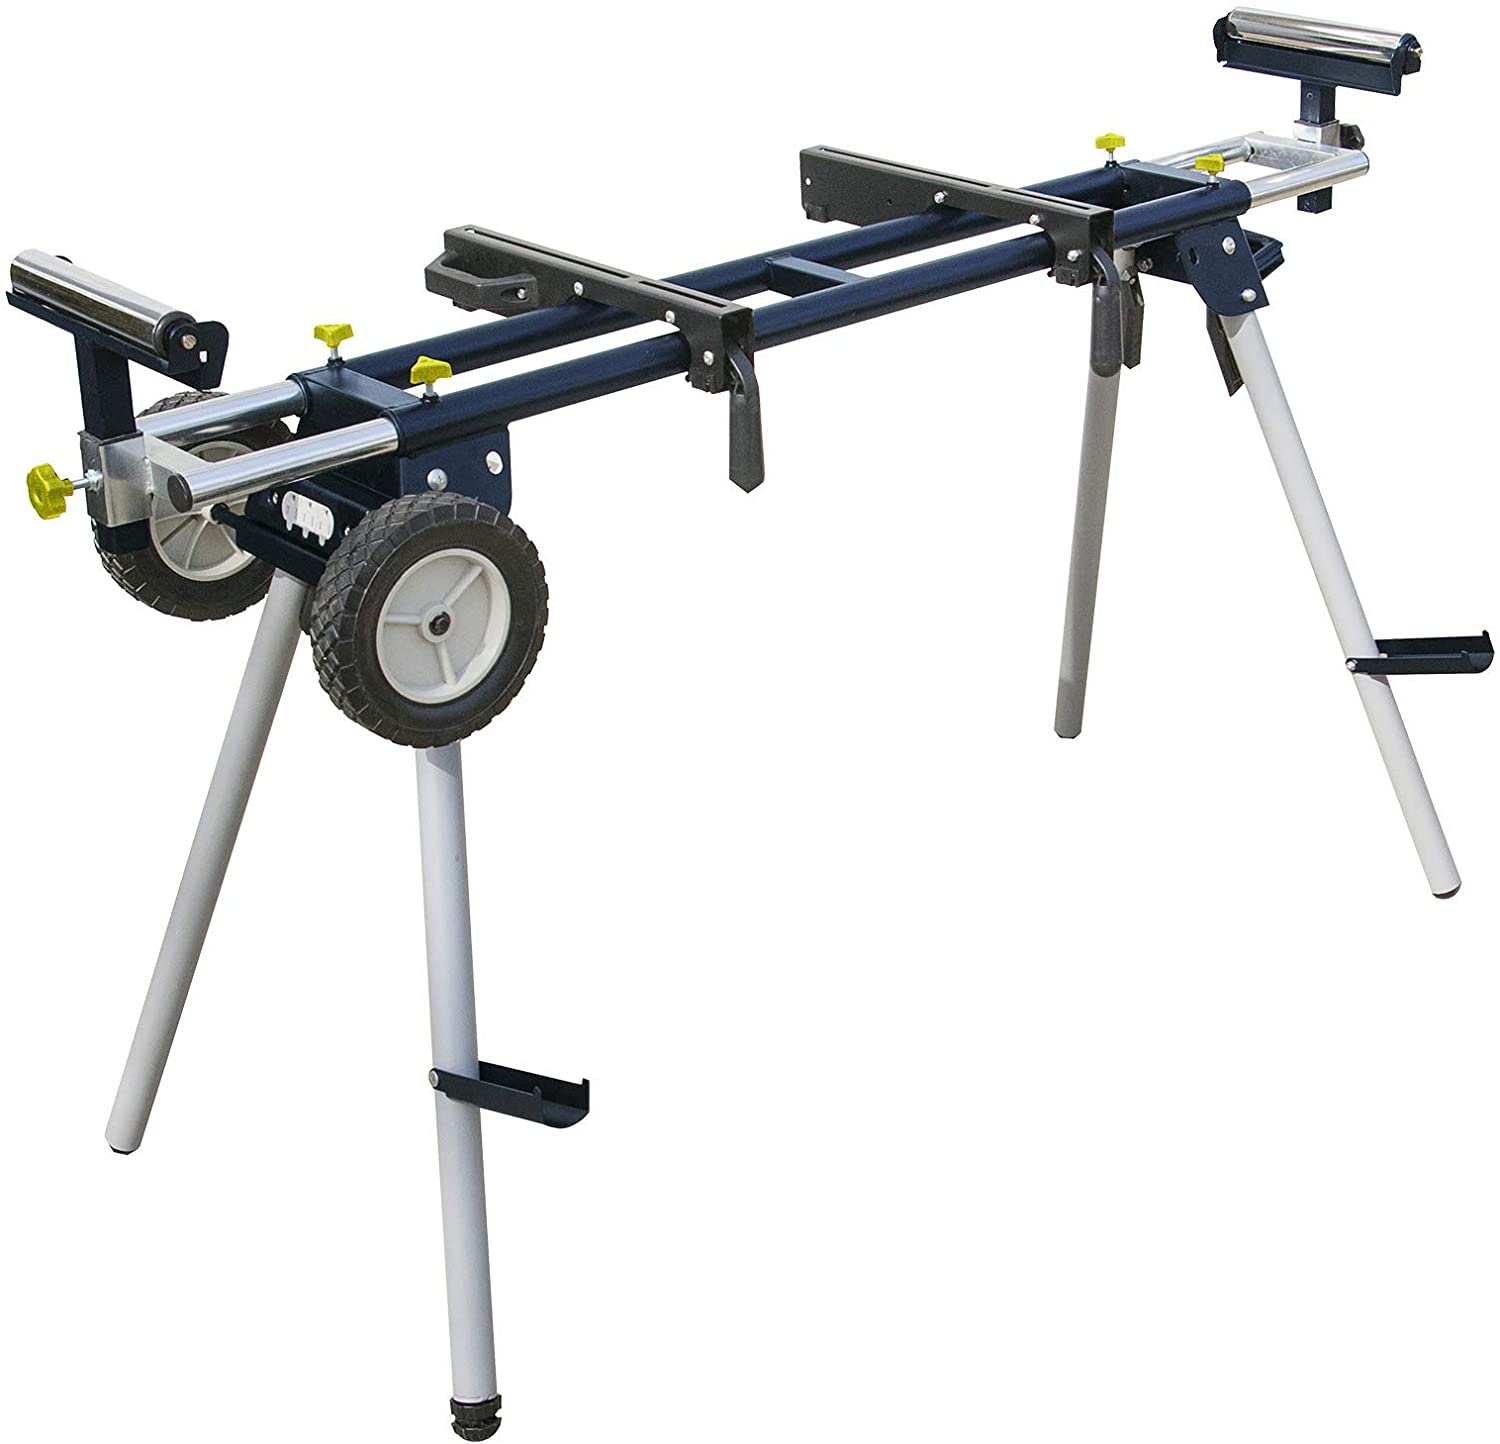
Using a miter saw properly requires help from other tools like a miter saw stand. Get yourself a portable miter saw stand so that you can easily transport and move it around your workspace. Having a miter saw stand results in hassle-free work and lets you use the miter saw more efficiently.
3. Transparent Blade Guard Is the Best
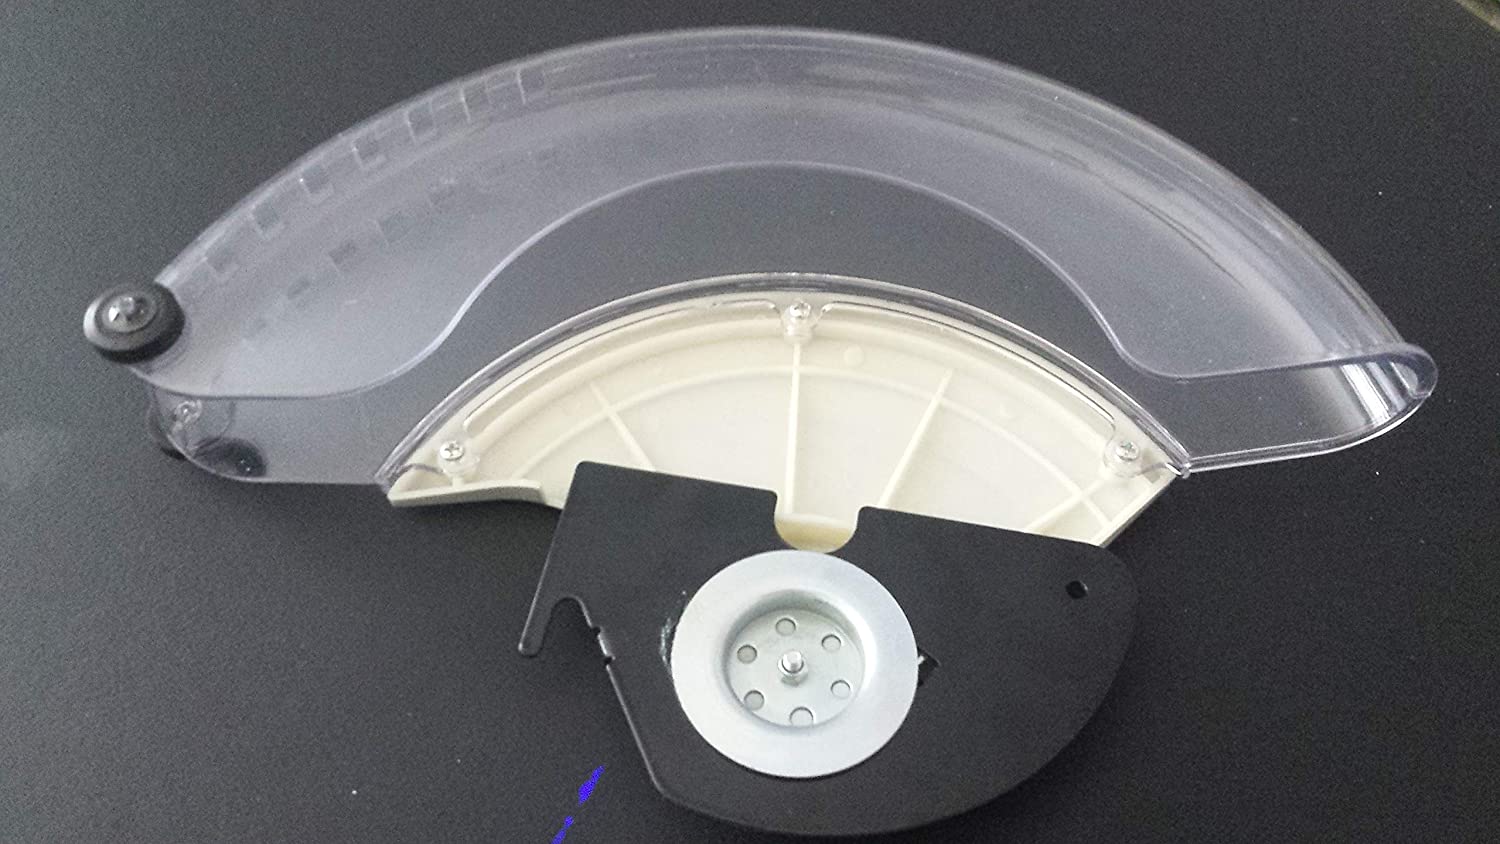
Blade guards keep you and the blade safe. Getting a clear and see-through blade guard allows you to check the blade without lifting it off from the guard. When lining up the blade to the piece you want to cut, you can easily do so with a transparent guard. It’s not only safe, but it saves you a lot of time as well.
4. Stop Block Is There for a Reason
Setting up a stop block for your miter saw is crucial in making your work faster and better, especially when cutting several pieces with identical cuts. Once you make a stop block, you can save it for future use.
5. Install a Laser
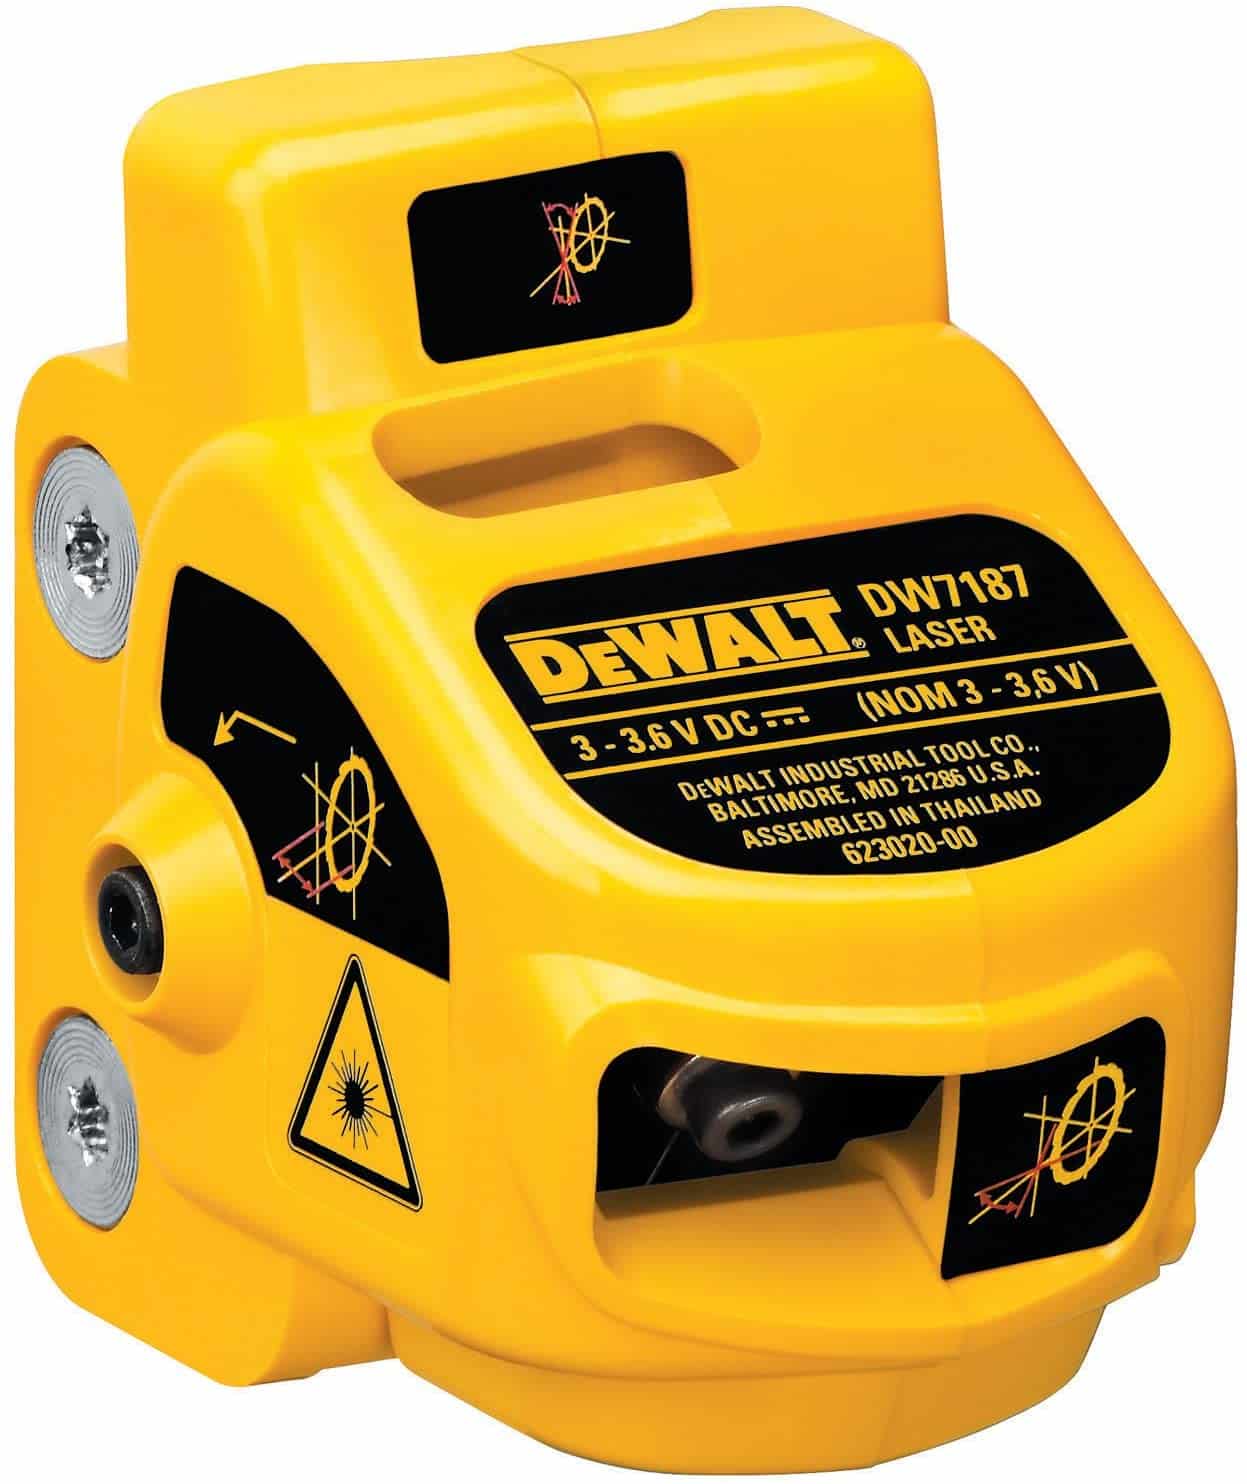
Most new miter saw models now come with a pre-installed laser. The laser creates a light of thin line that lets you cut faster. If you have older models, you can install a laser to your miter saw. This DEWALT Adjustable Miter Saw Laser System can be an added upgrade to a compatible old miter saw.
6. Tune-Up for Accuracy
Tuning up your miter saw is vital for it to function properly. When you hit a knot or if some kickbacks occur, it’s best to check the miter saw. Being able to use a miter saw accurately also depends on how often you tune it up. Regular maintenance can mean better performance.
7. Never Forget Maintenance
With every tool you have, maintenance is a big factor in how long the tool or equipment will last and how efficiently it continues to perform. Moreover, maintenance is also important for safety reasons. So, for better performance and safe use, check your miter saw regularly and replace old parts when needed, such as dull blades.
8. Go for Ambidextrous Handles/Switches
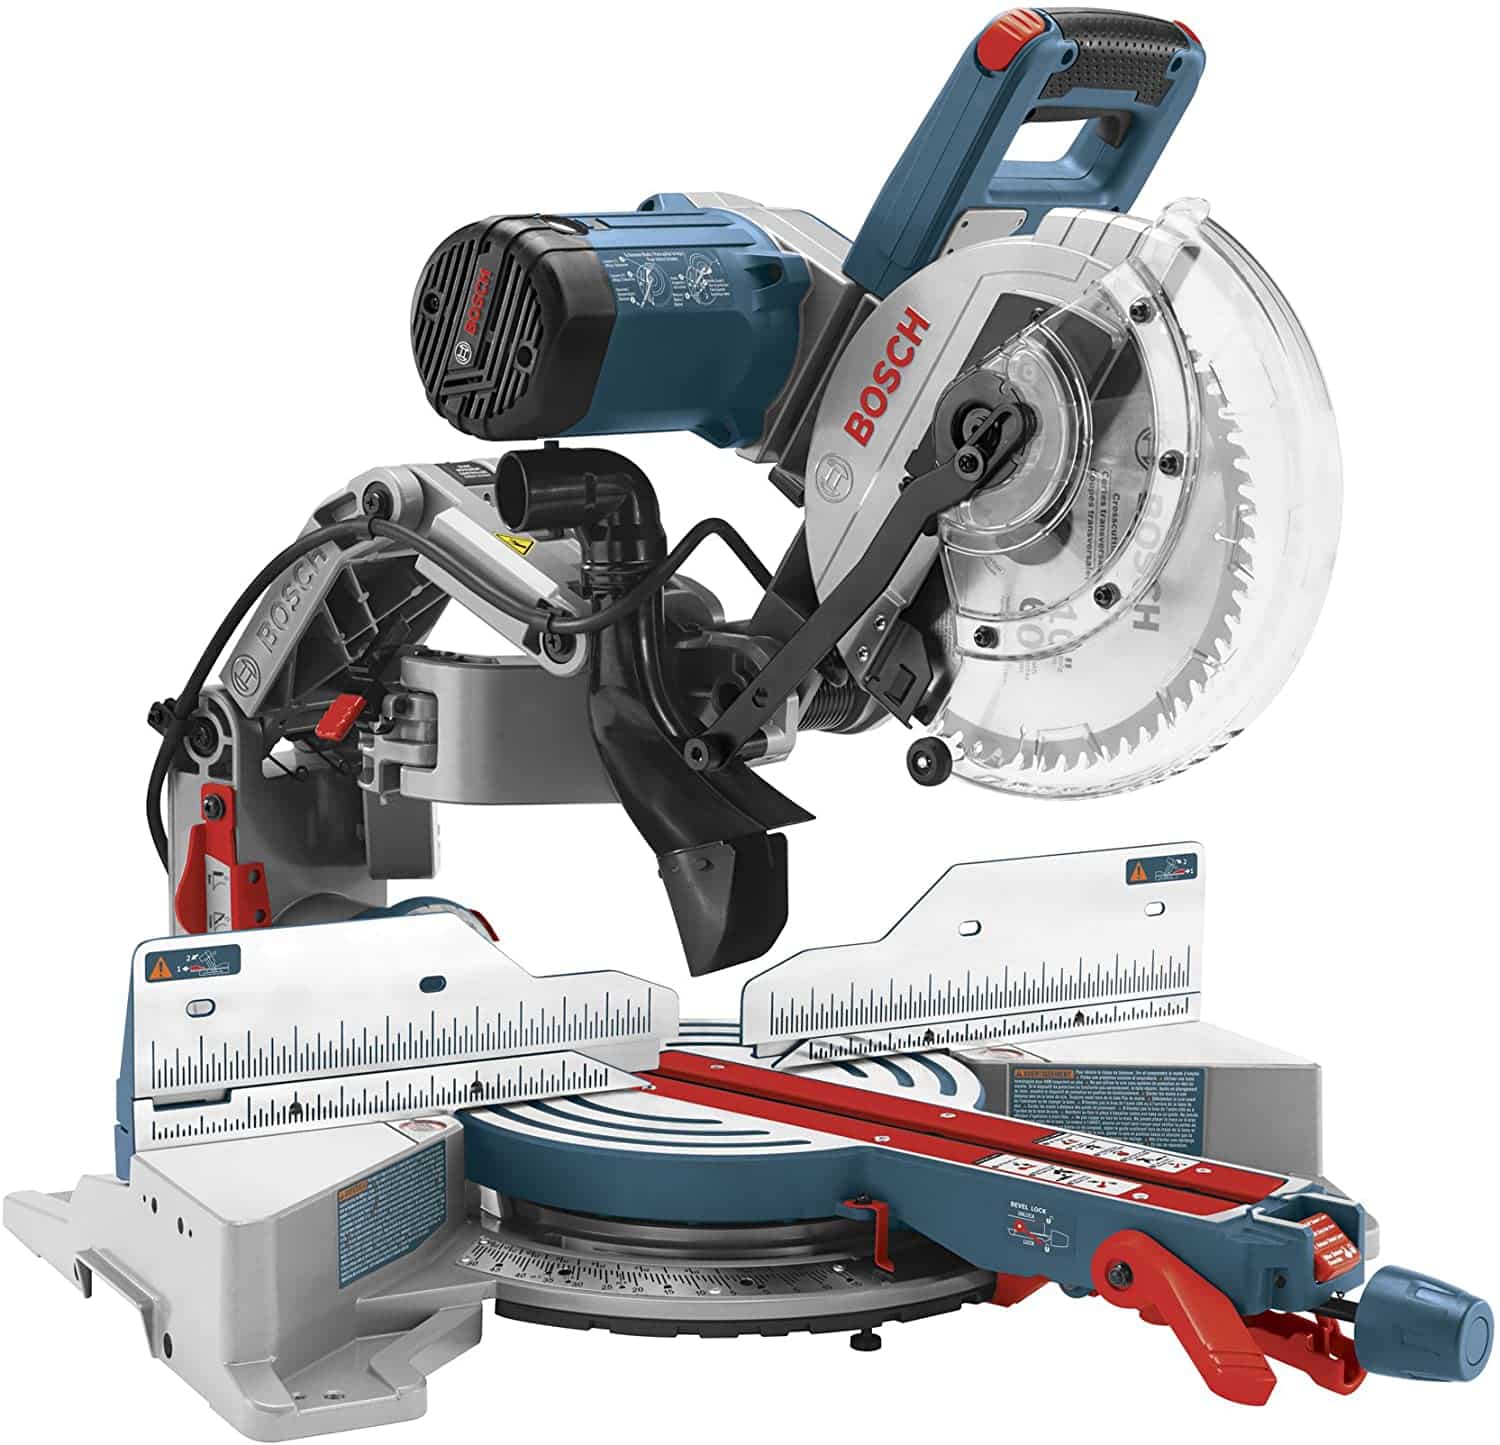
If you are looking to buy a miter saw, we recommend getting those with ambidextrous handles and switches. Why? Because you have to learn how to operate a saw using both your left and right hand. Some occasions require you to turn on and off power switches too. So, it is better to get ambidextrous miter saws to ensure easy maneuverability of the machine. This BOSCH CM10GD is one of the best compact miter saws that we can recommend with an ergonomic, ambidextrous trigger handle.
9. Spot and Mark Dangerous Areas
You can always mark the dangerous areas on your saw and workspace. Don’t hesitate to write on them, especially when safety is at stake. Use a marker (RED is highly advisable) to write on areas where hands shouldn’t be placed on the bed and fence. For blades, mark at least 3-4″ from the end. For example, draw a 7″ line on a 10″ blade and an 8″ line on a 12″ blade.
10. Let the Blade Reach Its Maximum Speed
This particular tip is a must! Safety-wise, it ensures a smooth cut without any jerking or sudden movement that could cause you to abruptly lift the blade off from the wood. Waiting for a few seconds until the blade is at its maximum speed will allow you to make better and more accurate cuts.
11. Don’t Cut the Line
Marker lines are there for a reason. Some cutters cut up until the line. However, it is highly advisable to leave it as is. There are times when you need to cut more to finish your board. Leaving the line marker helps you finish the cutting easier as opposed to cutting it the first time.
12. Never Cut Smaller Than 8”
This type of saw isn’t ideal for cutting pieces smaller than 8″ or 20 cm. The saw can easily damage your work surface, which will also damage your saw. Moreover, it is safer not to cut pieces that are smaller than 8″ because it can disengage the blade and bounce on you! Safety first!
13. Clamps for Small Pieces
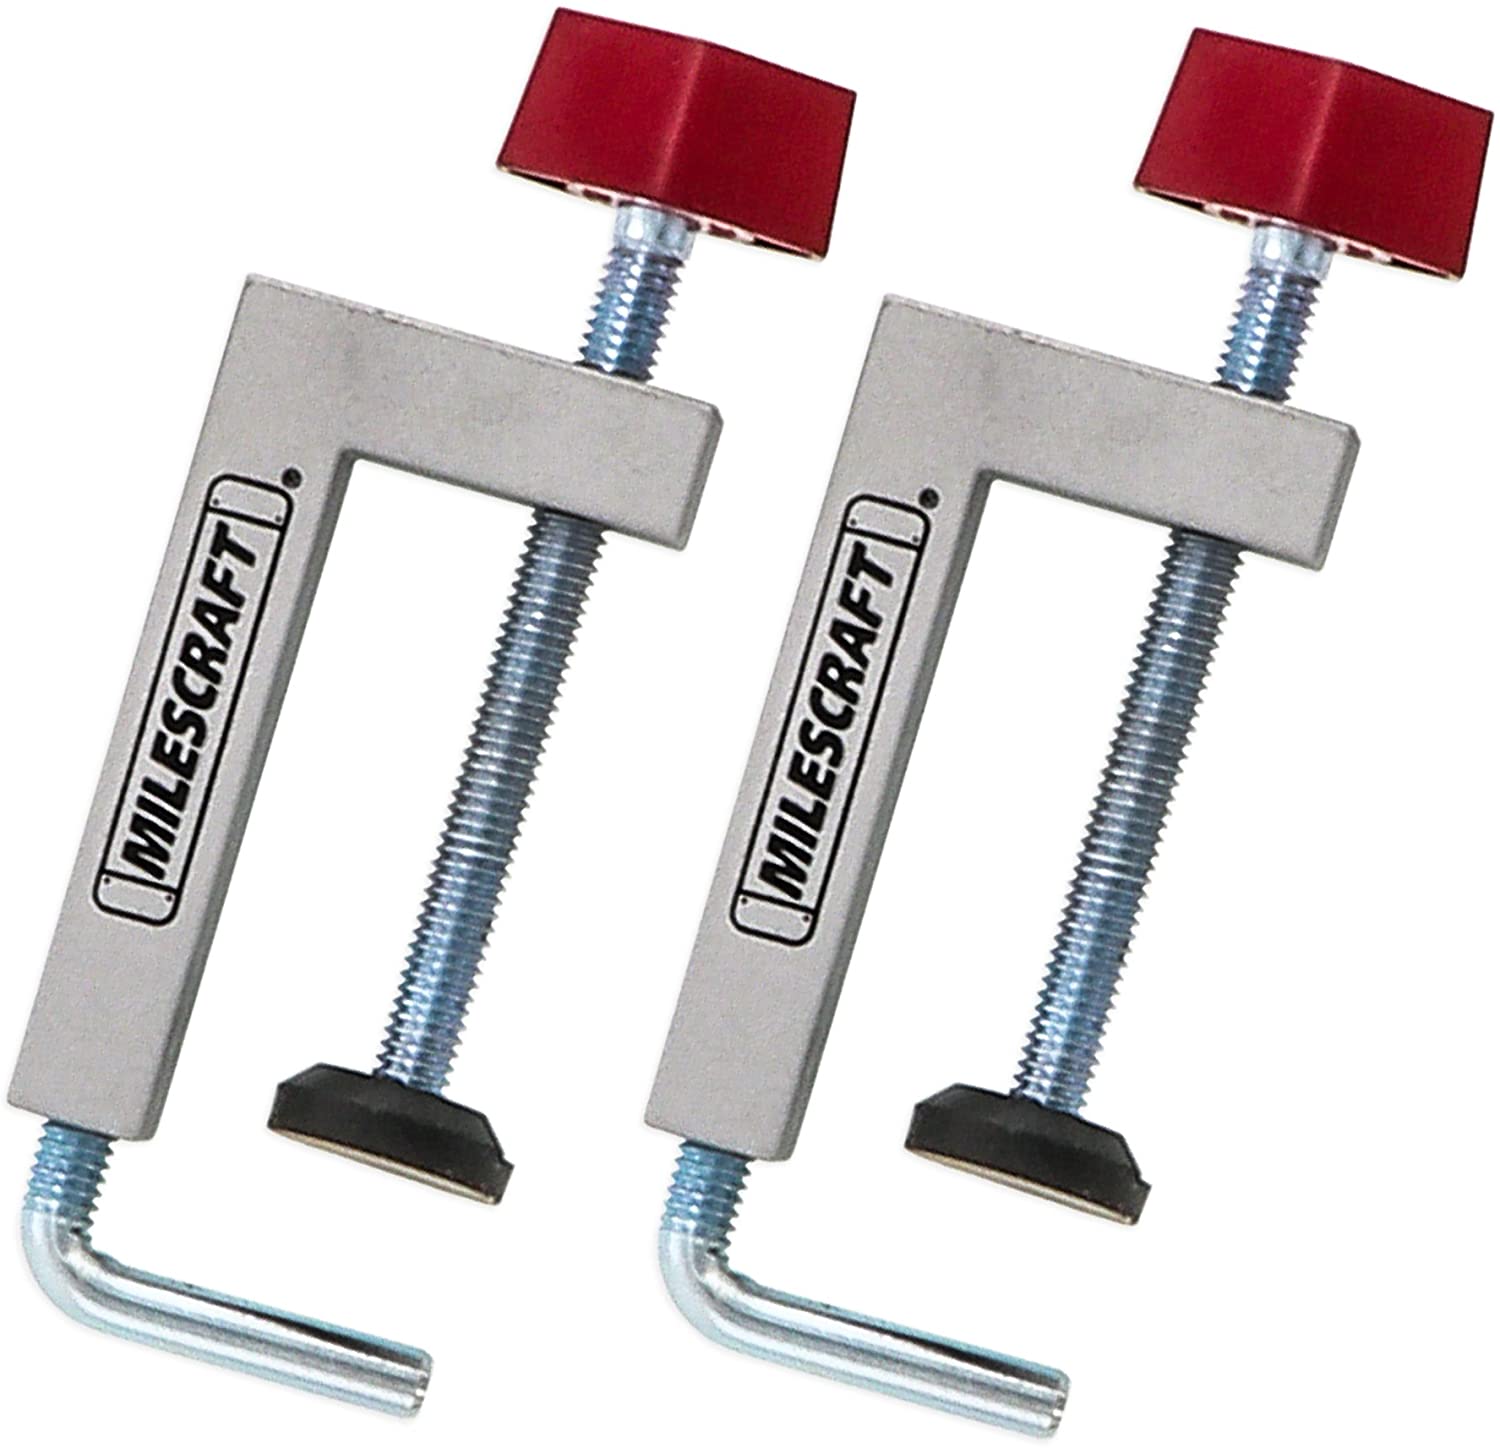
What if you need to cut a small piece? Learning how to use a miter saw for cutting a small piece requires the help of clamps. Make use of clamps to hold moldings in place. An auxiliary fence also provides a more stable clamping surface for safe cutting.
14. Don’t Act Harshly
When handling power tools, safety is always the main priority. That being said, acting harshly can put your life, as well as the lives and safety of people around you, in danger. Focus on what you are doing, and don’t let distractions overwhelm you.
15. Full Stop for Safety
Once you have finished cutting, release the switch and wait until the blade comes to a full stop. Do not raise the saw while the blade is still running since it can cause unnecessary injuries and accidents.

