
How to Use Router in Woodworking – Router Power Tool Uses and Tips
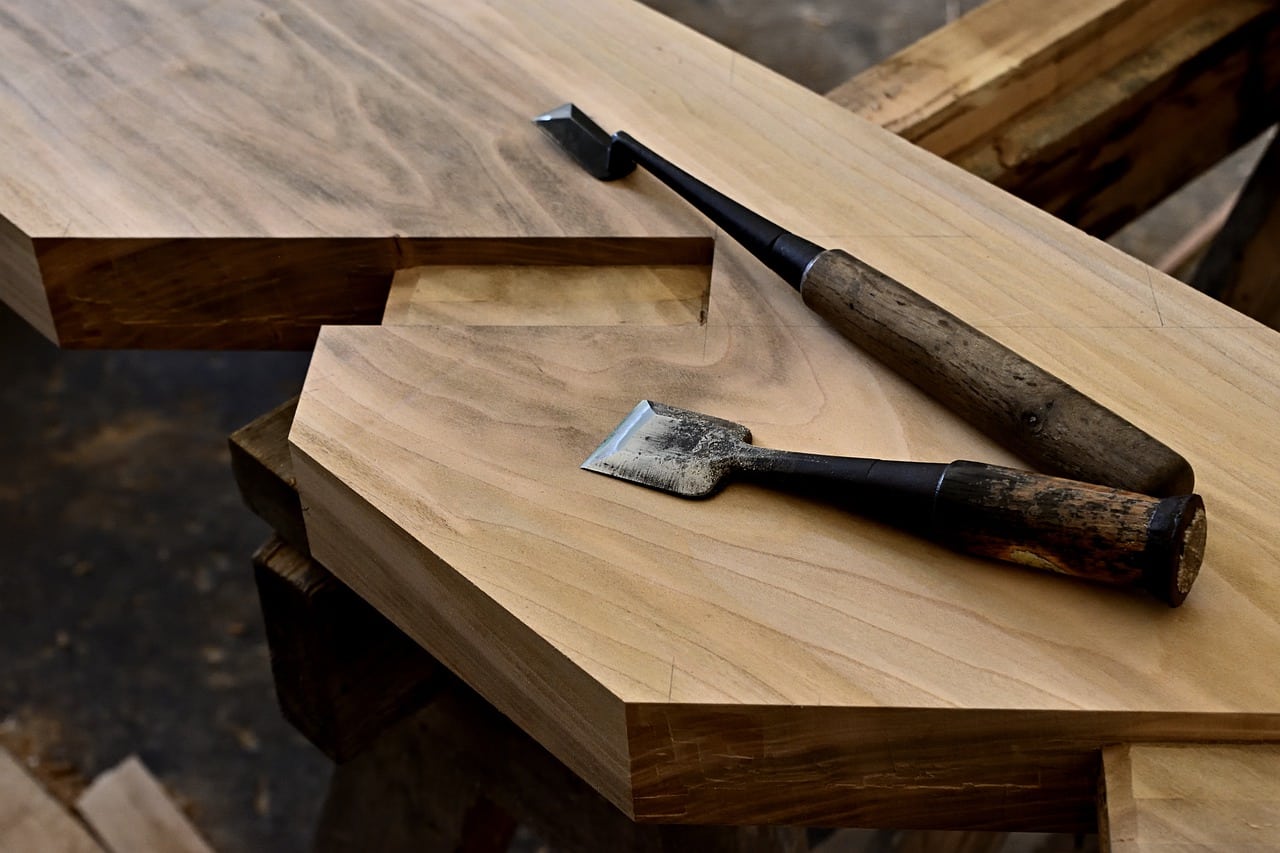
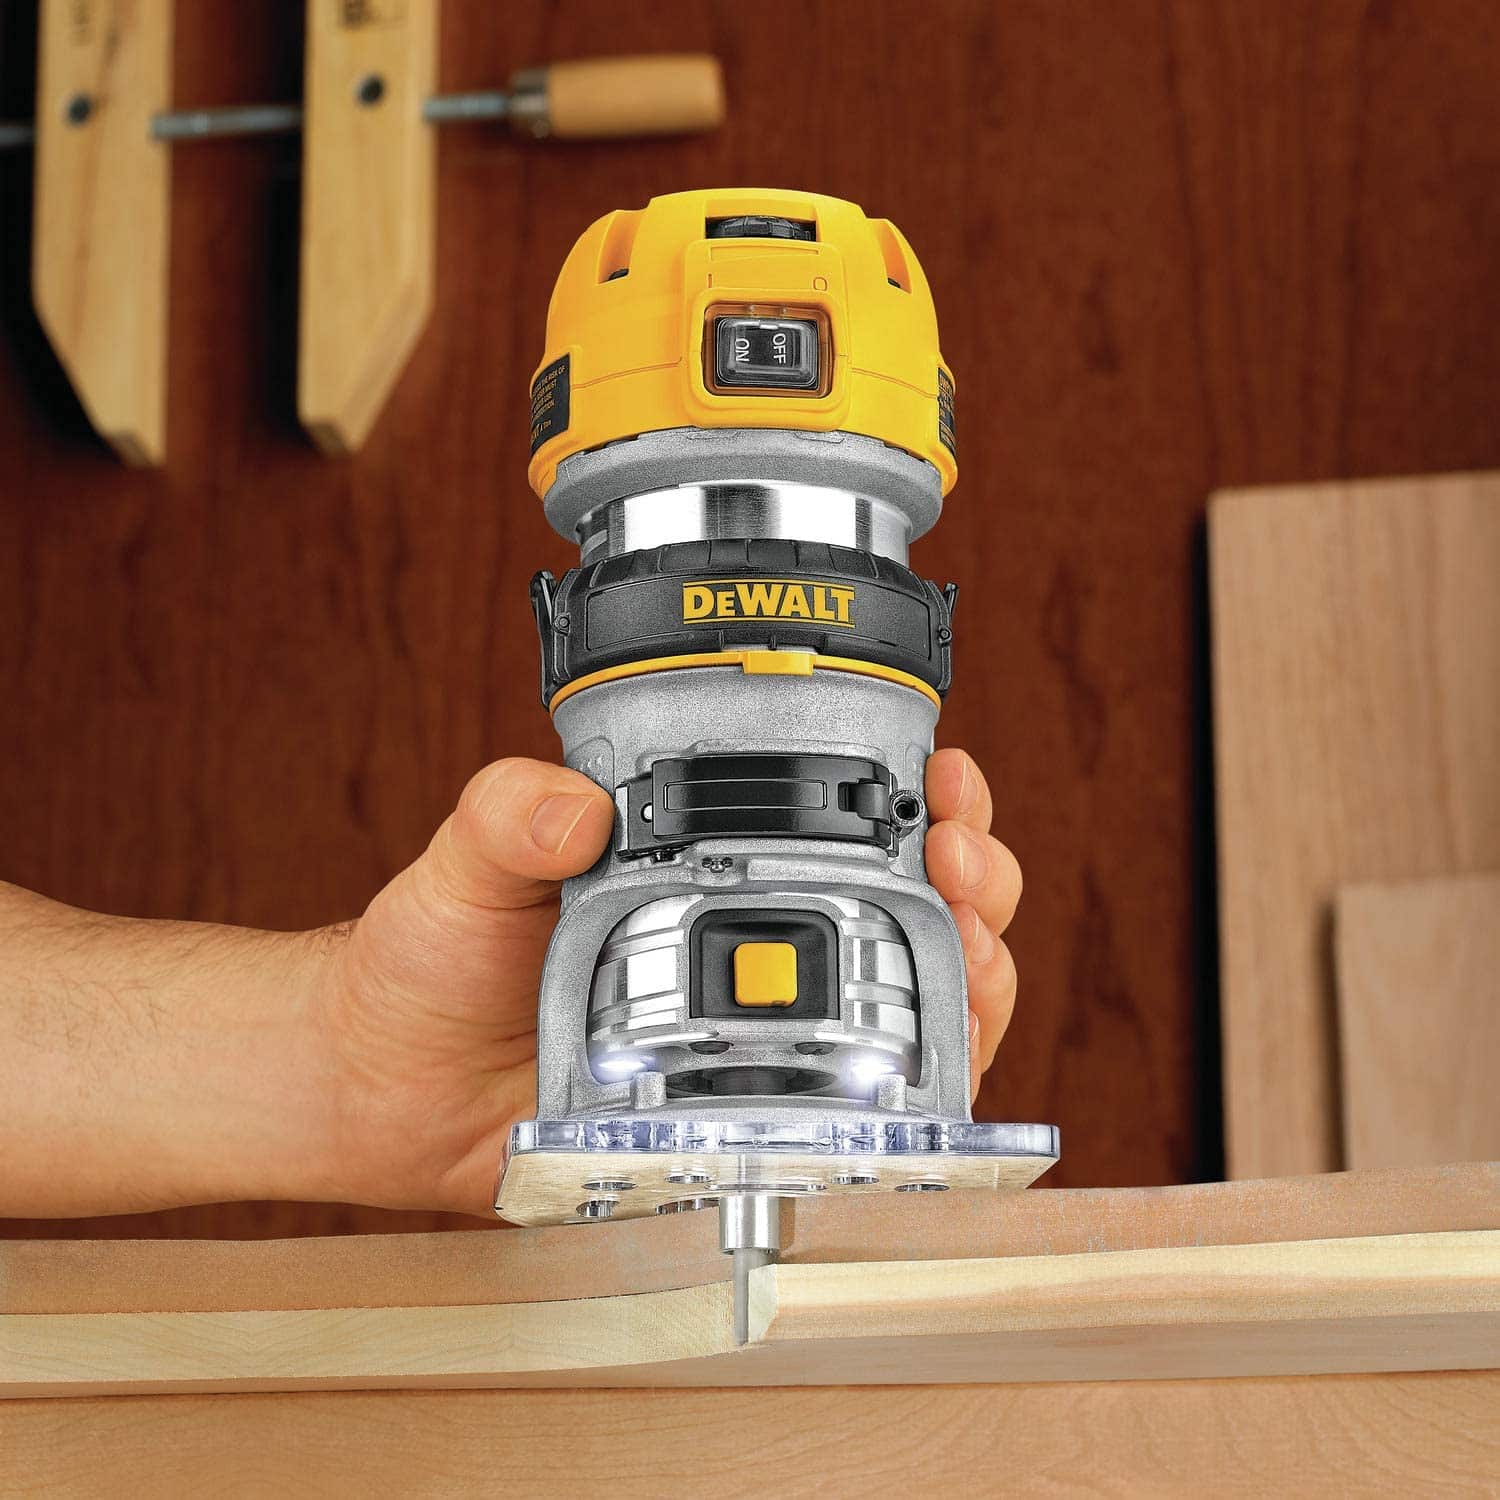
The wood router is one of the best investments you can make when woodworking. The project possibilities are virtually endless when you have a wood router, but only if you know how to use the wood router the right way.
Just because you have a wood router and use a wood router doesn’t mean you will create the project you have set out to do. You can easily use a wood router the wrong way without realizing it, simply because the router is a relatively easy woodworking tool to use.
We’re here today to make sure you don’t make that mistake by showing you how to use a router in woodworking through these helpful router power tool uses and tips.
The Primary Projects to Use a Router in Woodworking
The first step in knowing how to use your router in woodworking is to define the type of project you will be doing.
Your router can perform the following tasks: edging, shaping, dadoing, rabbeting, carving, or recessing. Knowing the type of project you will need the router for will tell you how you should use the router cutter.
Edging
Edging is when you need to make smooth cuts to the edge of your project. This is one of the many reasons you would need to use a wood router.
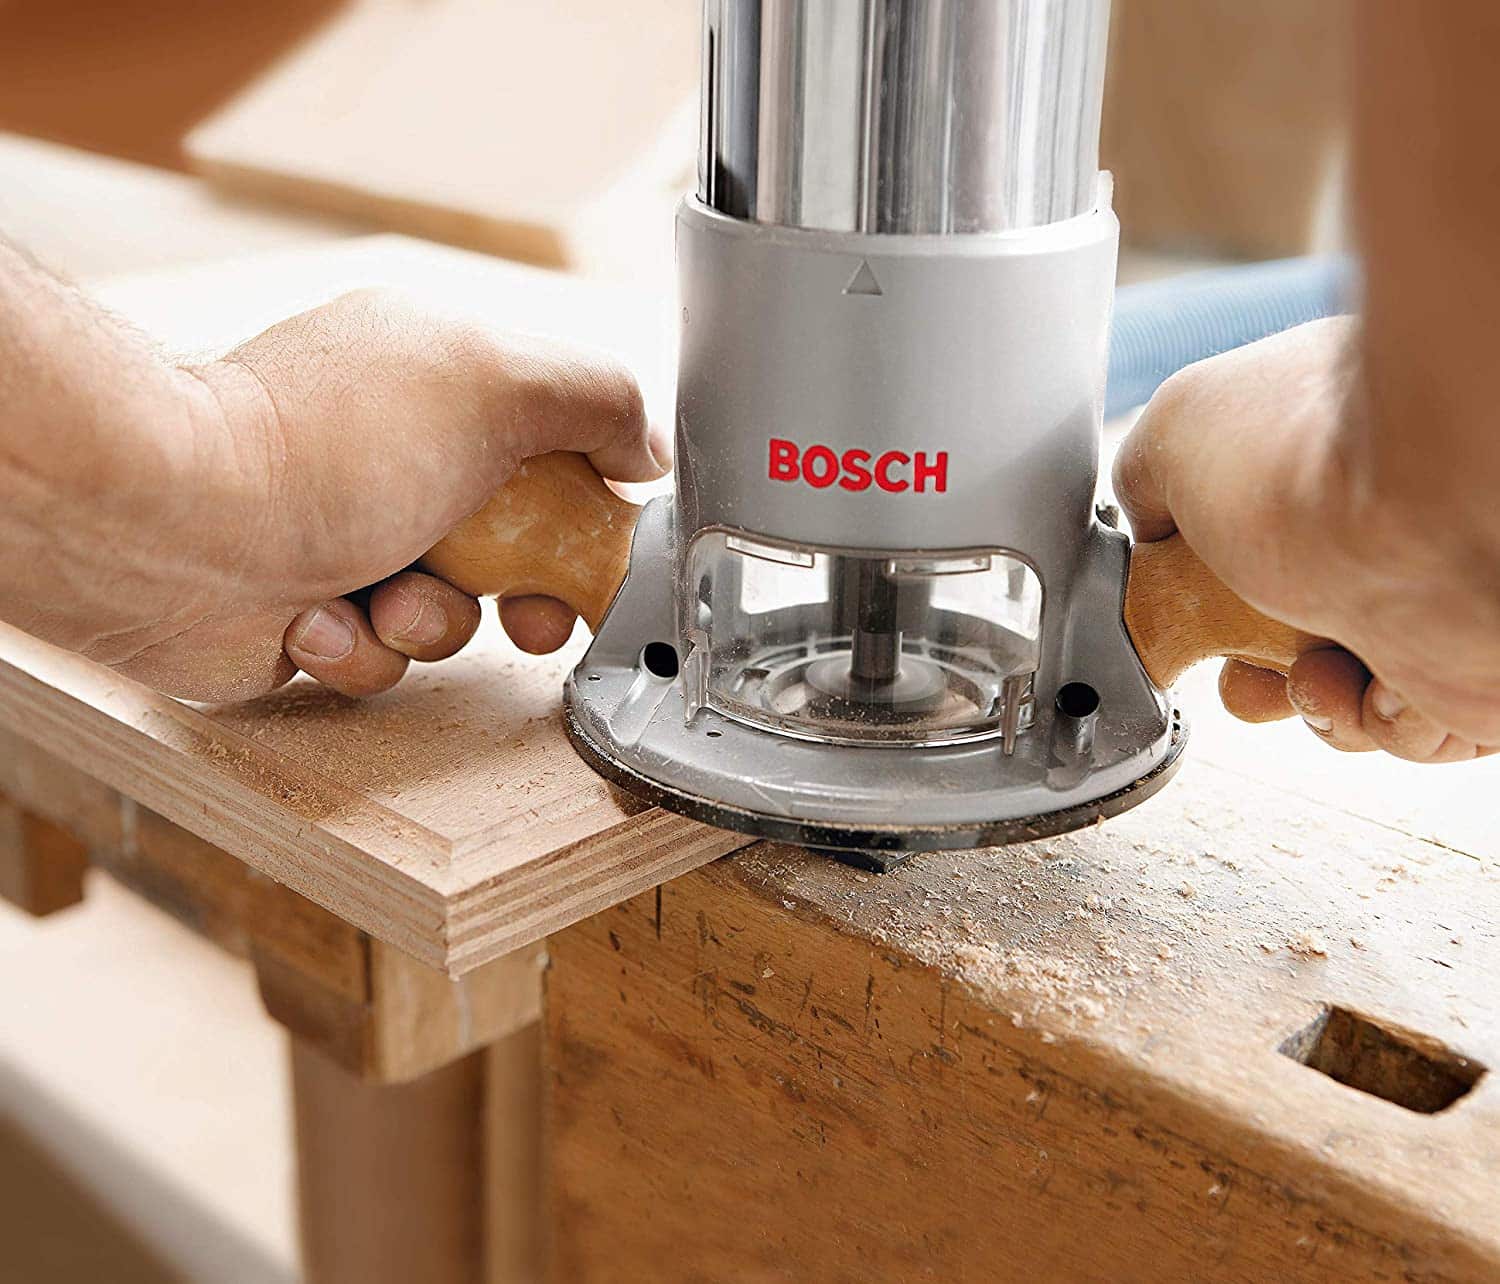
When edging, you will need to make sure that you run the router from left to right. The router bit will be rotating clockwise, so it’s important to move the router from left to right to ensure the router makes accurate cuts.
Pro Tip: Try to move the router slowly so that the rotating router bit will cut the edges while also smoothing them. This will ensure your edges are clean, level, and smooth after each pass.
Shaping
You can use a wood router to shape molding for different applications in your home, such as crown molding, trim, baseboards, and chair rails. This saves time and money from having to go to a home improvement store and find pre-shaped cut moldings. It also gives you more control over creating the exact style of molding or trim you want to use for your project.
Pro Tip: Use different bits to make different patterns of molding.
Dadoing
In woodworking, to dado means to cut an invisible trench or groove within a piece of wood to securely attach a shelf within a bookcase, cabinet, or entertainment center. A woodworking router is the best and easiest way to dado. It gives you complete control over the size of the dado you want to make, as well as how deep you need the dado to go.
Pro Tip: Know the difference between a through dado and a blind dado before getting started. A through dado is where the dado runs all the way through the edges of the surface. A blind dado is where the dado ends before the cut meets the edge of the surface.
Rabbeting
Rabbets are found in many woodworking projects. A rabbet is a recess that has been created in a piece of wood that is intended to attach to another piece of wood with a rabbet. It is essentially a tongue-and-groove method of connecting two pieces of wood together. Rabbets can be used to adjoin door jambs, window jambs, or other joints that can be joined together by fitting within one another.
Pro Tip: Dado and rabbeting are not the same, but they are both methods that are often found within the same woodworking project. A way to identify the difference is to understand that a rabbet is used in two pieces of wood to connect through a tongue-and-groove method of adjoining.
Carving
Carving is arguably the best reason to have a router. The options are endless when using a router to carve into a piece of wood. You can carve words, designs, lettering, numbering, and virtually anything your heart desires. A router makes it possible to carve personalized gifts out of ordinary wood.
Another method of carving is to use it for tracing pieces of wood that you need to recreate. If you have carved out a piece of wood that you need to recreate, simply lay it down onto the wood and use your router to carve around the wood to create an identical piece.
Pro Tip: To avoid damaging your original carved piece of wood, take a pencil to stencil around the wood and then use the router to follow the stencil. This will keep your original piece of wood protected and free from damage.
Recessing
Flush pieces of hardware, such as door hinges, have a more attractive appearance than hardware that sticks out from the wooden surface. A router will help you create recessed hardware that will give the overall project a better look and feel.
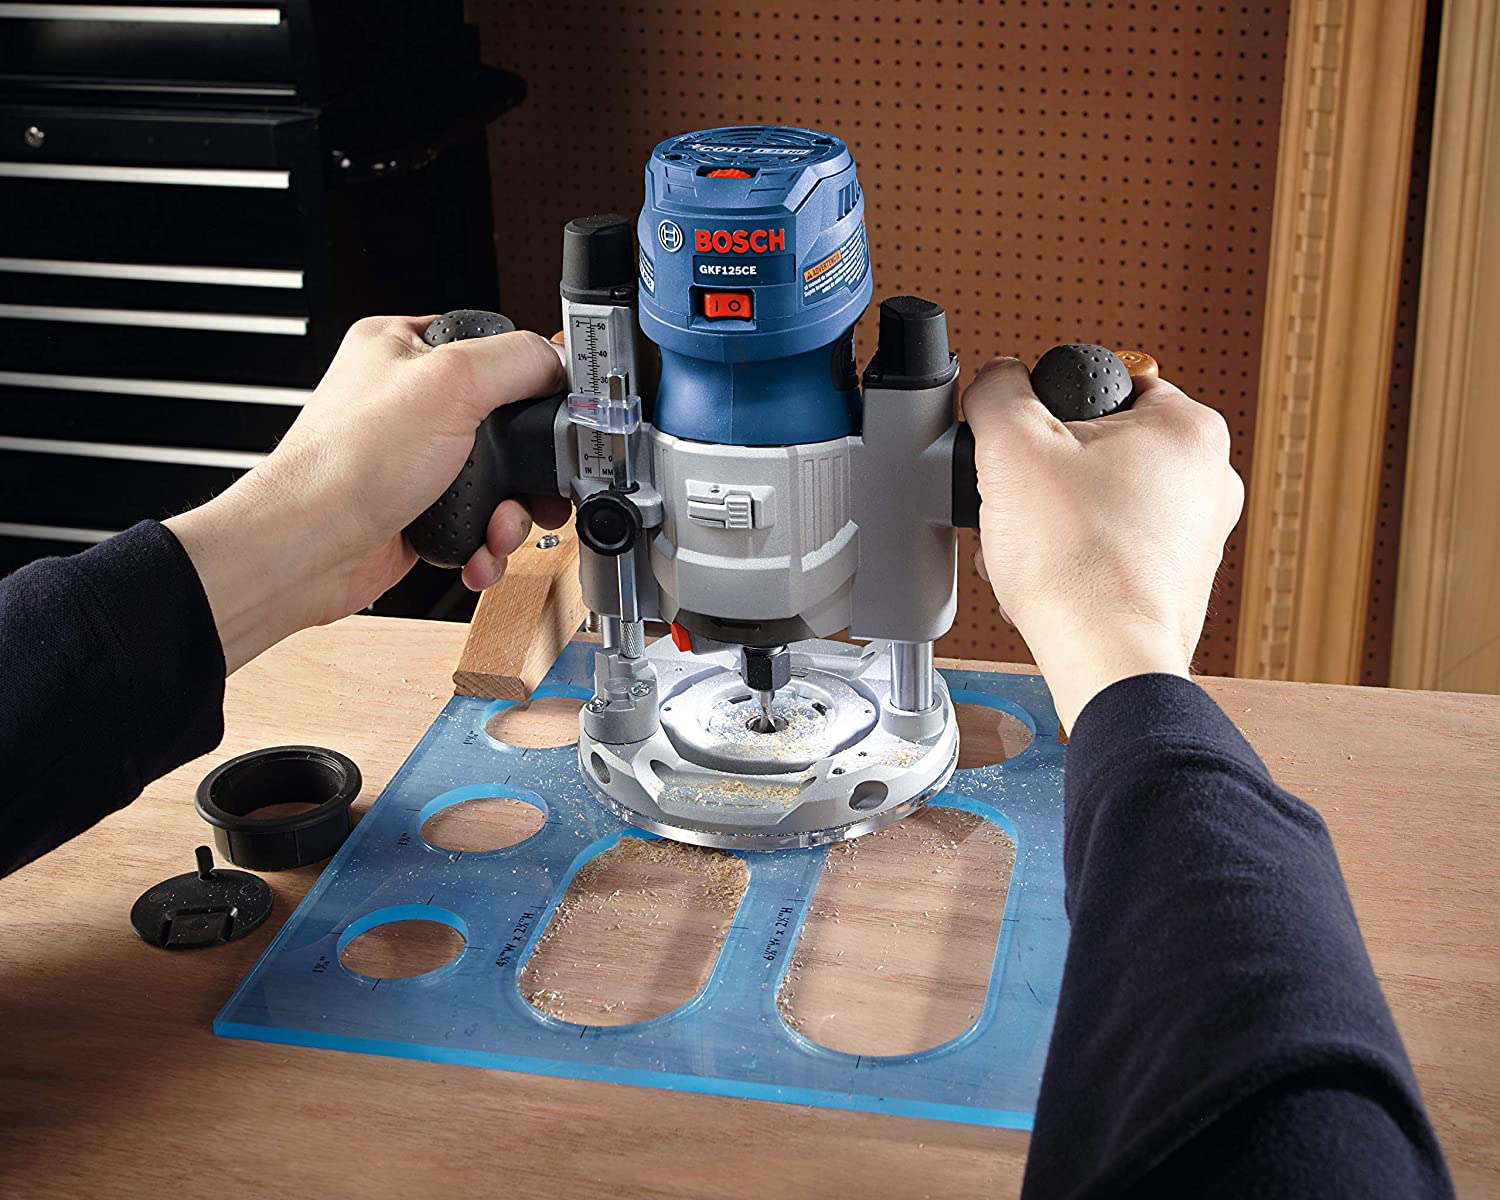
To use a router for recessing, simply measure out the area of the wood that needs to be recessed and use your router to make the recesses the appropriate depth.
Pro Tip: Make your measurements and identify them accordingly onto the wood you will be recessing. This will ensure you don’t mistakenly recess an area of the wood that shouldn’t be recessed.
Things to Remember When Using a Router in Woodworking
- Always move your router left to right when making passes, especially if you are edging a project
- Make accurate measurements before you make your first cut. This will guarantee that you make the cuts where they need to go every time
- Make slow passes rather than quick passes
- Sharpen your router bits before every woodworking project. Dull router bits can cause your router to splinter edges
- Try to choose a router that has a high velocity. High velocity helps create smooth cuts, while slower velocity routers can create jagged cuts or rough edges
Conclusion
Adding a router cutter to your woodworking tools is one of the best decisions you can make. Routers help you create an endless amount of woodworking projects that you otherwise may not be able to create. The best part is that the router is easy to use once you apply the tips we have included for each of the applications for using the router.