Get More Out of Your Rotary Sander with These Tips and Attachments
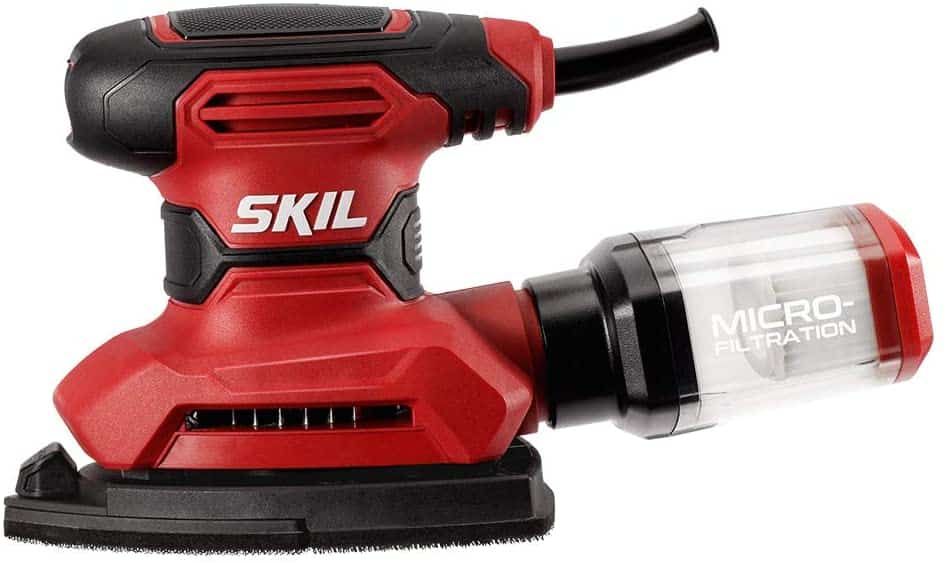
There is a wide variety of sanders on the market today. While they all basically do the same thing, the devil really is in the details when it comes to using these machines. The type of sander you choose depends on the kind of job you want to accomplish.
A rotary sander, for example, has all the qualities of a sander that can be used to remove a lot of material from your wood surfaces at a much faster rate. There are, however, some tips and tricks that you can use to get the most out of your rotary sander. Here are some of the tricks that work best for me.
Tips on How to Get the Most Out of Your Rotary Sander
Just as is the case with every machine in your woodworking shop, you first must learn what it is before you can find ways to improve its efficiency and get the most out of using it.
What is a Rotary Sander?
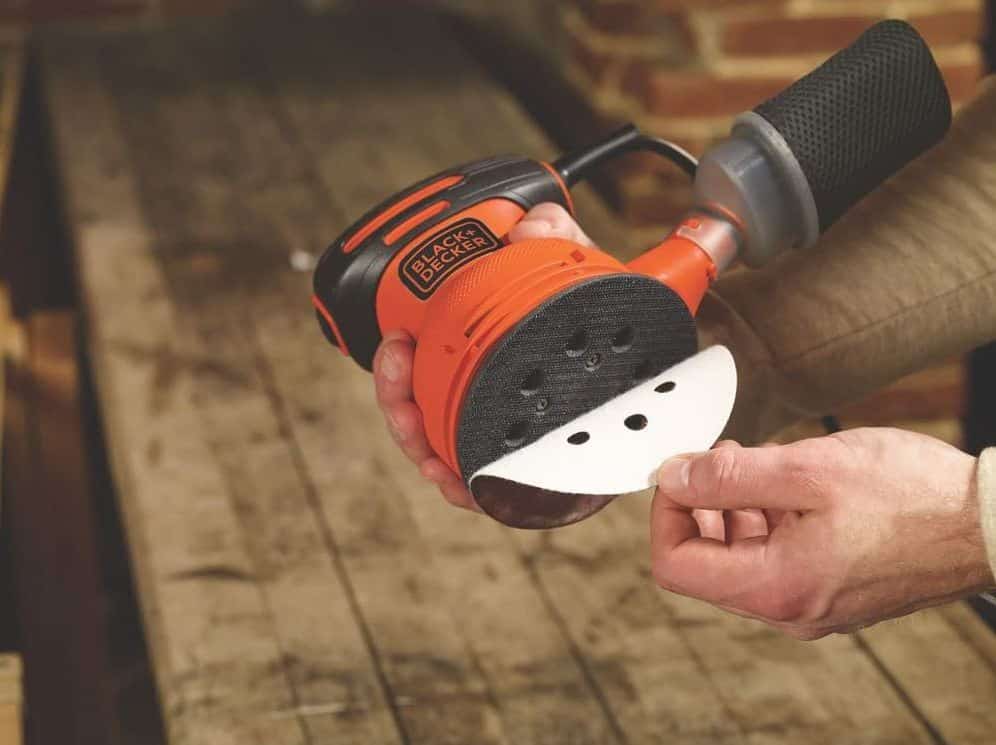
A rotary sander is very much like every other sander except that in this case, there is a round sanding pad that is covered with highly abrasive material and is circularly driven by a flywheel. In this regard, it’s very similar to an orbital sander. The main difference here is that in addition to the circular motion, the pad on a rotary sander rotates.
In an orbital sander, the path that the sanding plates take to remove material from the surface of your work piece is called a “sanding stroke” while in a rotary sander it’s called an “oscillating circuit”. The smaller you make this oscillating circle, the finer the results you will get.
How to Get the Most Out of Your Rotary Sander?
When it comes to using this kind of sander, there are some simple tips and tricks that can help you get the most out of it:
Tip 1: Place the Machine Straight on the Workplace
As already mentioned, rotary sanders have both a circular and rotating motion. This causes some kind of oscillation that allows the sander to produce the desired results. However, if you don’t know how to hold the machine properly, you will get less than desirable results thanks to this oscillation. When dealing with this kind of sander, it’s best to hold it straight on the workplace so that you don’t get unwanted depressions that would develop on your work surface otherwise. This occurs when the edge of the sanding pad eats into the surface when the machine is operating at high speeds.
Tip 2: Go Slow
The thing about sanders is that they leave swirls on the surface of the material you are working on. For the most part, these swirls aren’t noticeable but they can become pronounced if you rush through the job. To try and randomize these swirls enough that they actually all but disappear in the background, the trick is to move the sander over the surface at a rather slow pace. Think “1 inch per second”. This might take some practicing and a whole lot of patience though.
Tip 3: Don’t Press Down Too Hard
There is this notion that pressing down on a sander will help remove more wood from the surface faster. While that is true, there is also a negative aspect attributed to doing so.
For one thing, when you press down on the sander, you are hampering the free rotation movement that the sanding pad would have without all that pressure. This might very well stop the sanding pad from rotating in the worst case scenario and in the best, it will create pronounced ugly swirls. It is therefore advisable to avoid pressing down on the sander.
Trust that the weight of the machine itself, coupled with the natural weight of your hand is enough pressure for the sander to do its job properly.
Tip 4: Buy High Quality Discs
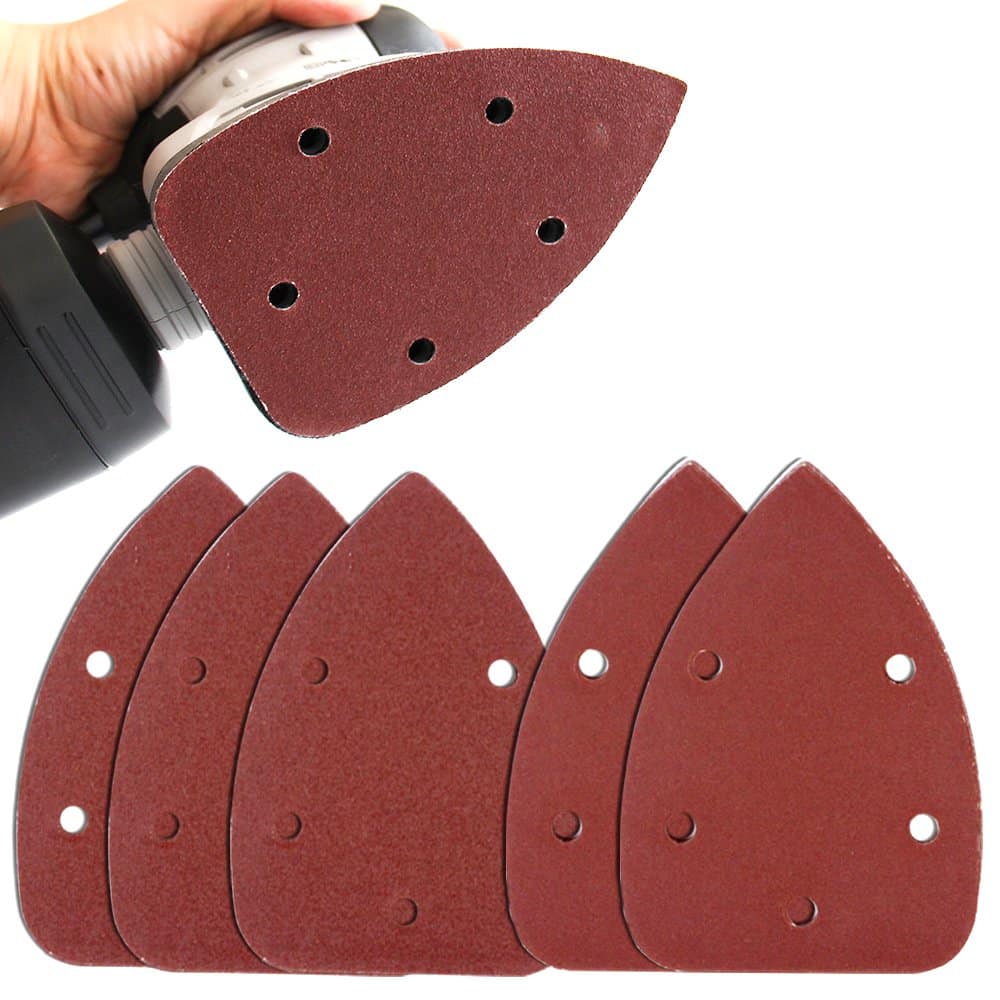
As far as sander attachments go, you can’t get more basic yet more essential that the discs. Just as is the case with everything high-quality and cheaper versions, the results will vary.
If you spend a bit more money on high-quality discs, you are going to get uniform sized grit particles whereas cheaper discs will give you randomly and even oversized grit particles. These tend to cut too deep and leave your wood surface with visible scratches.
Furthermore, high-quality discs tend to last a lot longer and therefore save you more money in the long run.
Tip 5: Wear Protective Gear
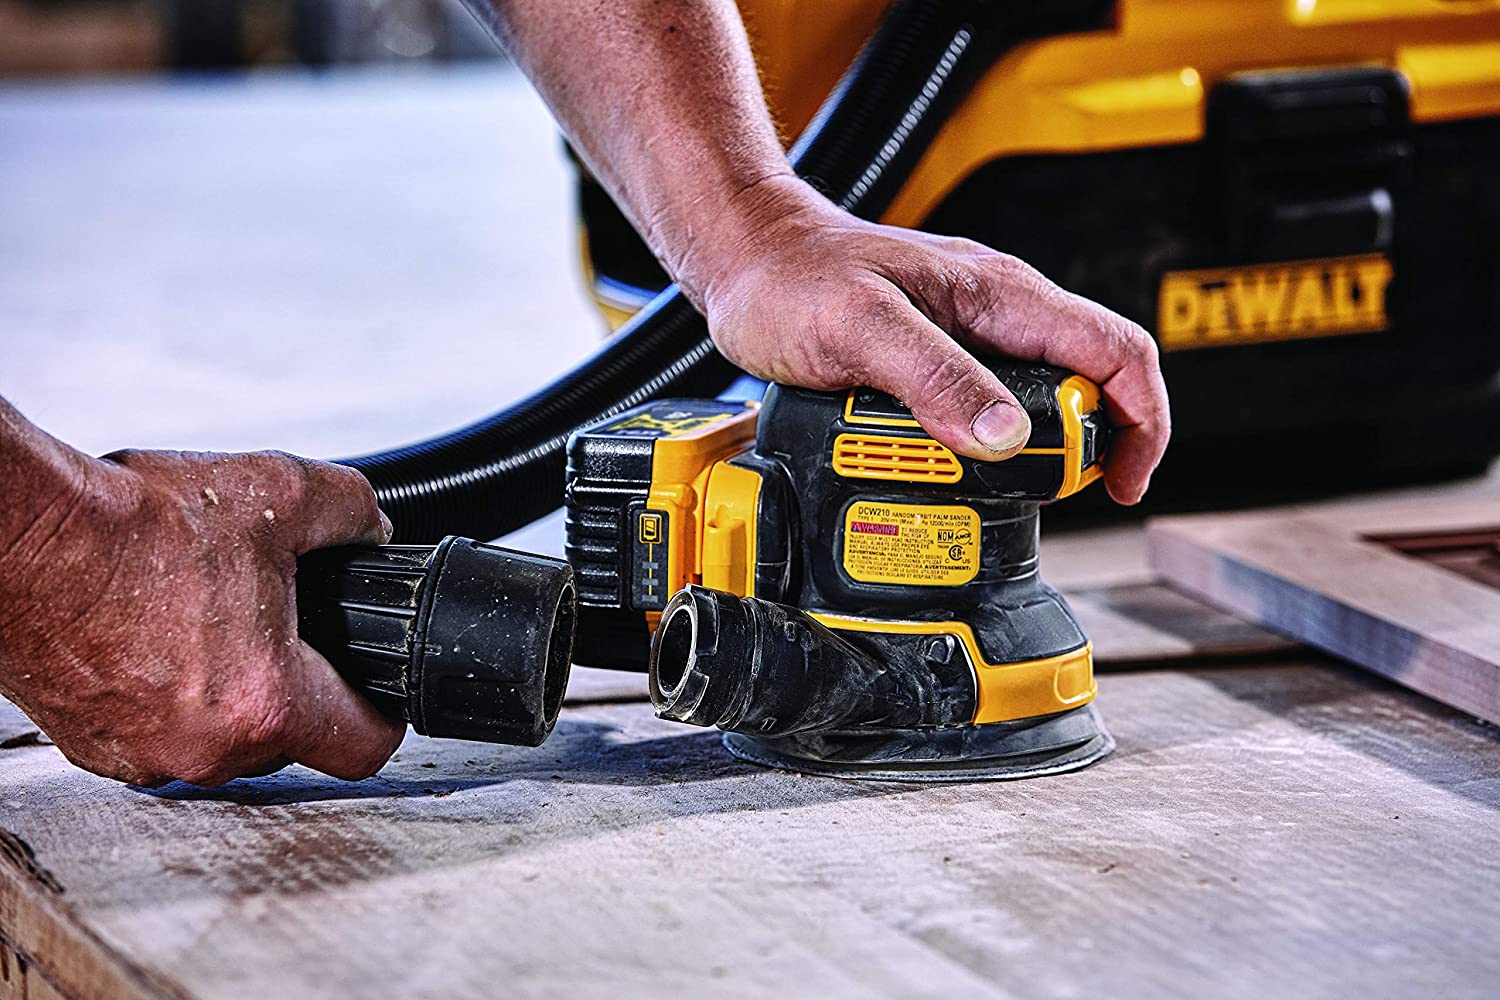
This is a rule that stands whenever you are using any electrical tool. You do, however, need to take more precaution when using electrical equipment that causes vibrations. Every sander causes some kind of vibration albeit to a different degree. This means that if you sand for a long duration, you are going to develop some numbness and tiredness in your hands. One of the best ways to counter this is to wear vibration-resistant gloves. These anti-vibration safety gloves are designed to minimize the amount of vibration getting through to your hands as opposed to eliminate it. Some high-end sanders come with additional vibration reduction built into the machine itself.
There are a host of other tips that the pros use which requires quite a bit of practice and tend to get novices in a bit of trouble if they don’t know what they are doing. One of the most notable trick is to use two sanders at the same time. This not only allows you to sand twice as fast but it also ensures that you don’t overwork one hand causing it to tire out or go numb.
However, if you are going to use two sanders at the same time, you need to know three things:
- Don’t apply pressure on either sander, just let the machines natural weight and your hand do the job. If you begin to apply pressure on the sanders, you are inevitably going to apply it unevenly which will give your varying results on the same piece of material.
- Move the sanders slowly across the surface.
- Move the sanders in the same direction. If you move the sanders in different directions, you are very likely going to sand some places more than others which gives you varying results.
These tips and tricks will help you improve your sanding game whether you are using a rotary sander or any other type.

