How To Sand Wood Floors And Rejuvenate Your Home

Real wooden floors are often covered by rugs and carpets, which hides their beautiful, rich qualities. By sanding and staining or polishing your wooden floors, you can transform the entire room into an attractive and expensive-looking area. In order to do this, you need to know how to sand wood floors with a belt sander.

How to Sand Wood Floors with a Belt Sander
Before starting, have you seen types of sanders article? check it out. A small floor space can be sanded with a handheld rotary sander and a sanding block. However, in most instances, you will be dealing with larger floor areas which need a belt sander to be efficiently sanded. You will still need to use a sanding block to finish the corners and areas that the belt sander can’t reach.
Before you start sanding, remove all of the curtains, mats, and furniture from the room. If the item cannot be removed, such as a piano, cover it with plastic or a sheet to keep as much of the dust off of it.
As sanding creates a lot of dust, you should also wear a face mask and goggles so you do not get the dust in your eyes or inhale it. You should also wear earplugs or defenders as belt sanders are very loud.
The state of the wooden floor will determine the amount you need to sand the floorboards:
- If they are fairly even and clean, just sand along the length of the wood to get a smoother finish.
- If they are very warped, marked, or rough, you will need to sand the wood diagonally and then along the length of the wood.
The condition of the floorboards also determines the grade of the abrasive that you will use on the floor to start; however, no matter what state your floor is in, you will always finish with a 120 grit size.
Typically, using three grades of abrasive is all you will need. If you start with 40 or 60 abrasive, the second abrasive should be 80 or 100, followed by 120 abrasive to finish.
Before sanding with the belt sander, you need to ensure that you properly ventilate the area that you are working in by opening the windows. Don’t forget to seal the areas around the door so that the dust does not escape into the rest of the property.
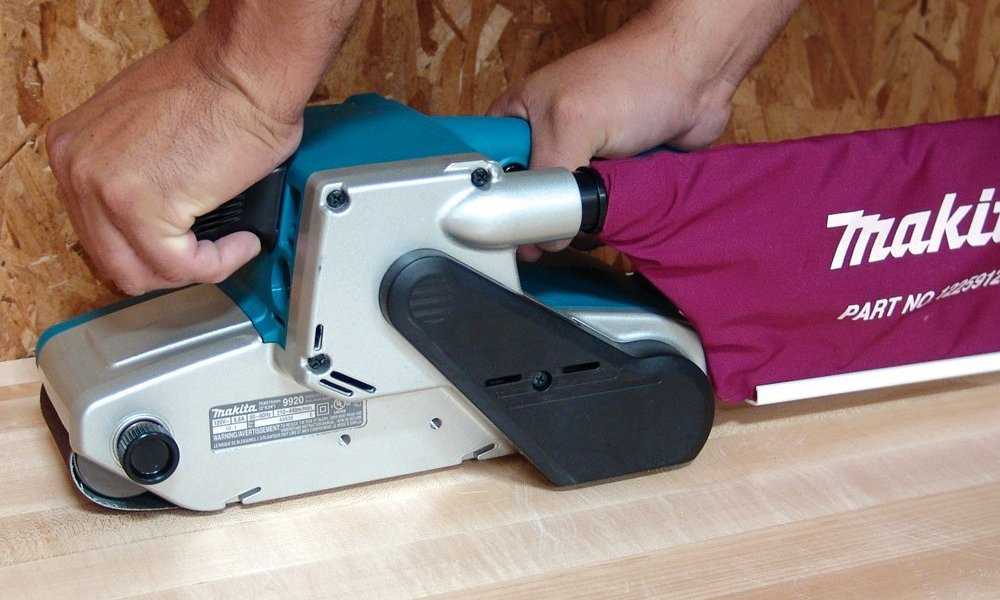
Always tilt the belt sander before you start it so the abrasive face does not come into contact with the floor. When you finish the length of one floorboard, tilt it again to lift the abrasive from the surface. Never run the sander while it is in contact with the wood if it is not moving. This will cause the area to be unevenly sanded. Below is belt sander working diagonally, other top rated belt sanders and top rated sanders are too available in the market.

Sanding diagonally
Sanding your floorboards diagonally is needed when your boards are not level. Fit the correct grade of abrasive to your sander – either 40 or 60 size. Begin in one corner of the area, tilt the sander, switch it on, and move it across the floor diagonally to the opposite corner.
Tilt the machine and lift the abrasive from the wood just before you reach the skirting board in the opposite corner. Turn around and repeat the process, moving in a parallel line to the first pass. You need to slightly overlap the first pass. Continue with this process, slightly overlapping each previous pass until you have sanded the entire room.
For the next round, repeat the same process as above, except that you start in an adjacent corner so that the sander crosses the first round of sanding at right angles.
Sanding the Length of the Wood
Once you have sanded the floorboards diagonally twice as above, or if the floorboards were in fairly good condition to start, use your second grade of abrasion- either 80 or 100 – and begin sanding along the length of the wood.
Start in one corner of the room and run the length of it with the sander. Once you reach the opposite wall, tilt and lift the belt sander, then turn around and walk the machine parallel with the previous pass, overlapping as you did with the diagonal sanding process.
Once you have done these two passes, you should be able to see that one pass has a smoother finish than the other – that is the direction of the grain. The rest of the passes should be done in the same way as the smoother strip.
When the whole floor has been sanded with the second grade of abrasion, change it to the 120 grit size and repeat the sanding process as above. A handheld sanding block will need to be used at the end to get into the corners of the room.
FINAL VERDICT
Using a belt sander can speed up the process of sanding your wooden floors back to beauty. Remember to use the correct grade of abrasion and don’t forget to protect your eyes, ears, and lungs. We can also use orbital sanders other top rated orbital sanders are too available in the market.
